
Adding animation to bullet points in PowerPoint presentations can make them more engaging and visually appealing. However, animating all the bullet points at once can be overwhelming for the audience, making it hard to follow along.
To animate bullet points one at a time, select the text box containing the bullet list, choose your preferred animation style from the “Change Entrance Effect” dialog box in the “Animation” tab and click “OK”. Finally, choose “By Paragraph” in the “Sequence” section from the “Effect Options” button.
In this article, we will also educate you on how to make bullet points appear by clicking as well as if you want your text to appear one letter at a time. Let’s get started!
1. How to Animate Bullet list in PowerPoint?
In Microsoft PowerPoint, the “Animations” menu allows you to add animation effects to any object on the slide. To animate a text box containing a bullet list, follow the 3 quick steps.
Step-1: Click on the “Animations” tab

In the PowerPoint slide, you have to first click on the text box to select it. Then click on the “Animations” tab in the menu ribbon located at the top of the screen.
Step-2: Click on the “More” option
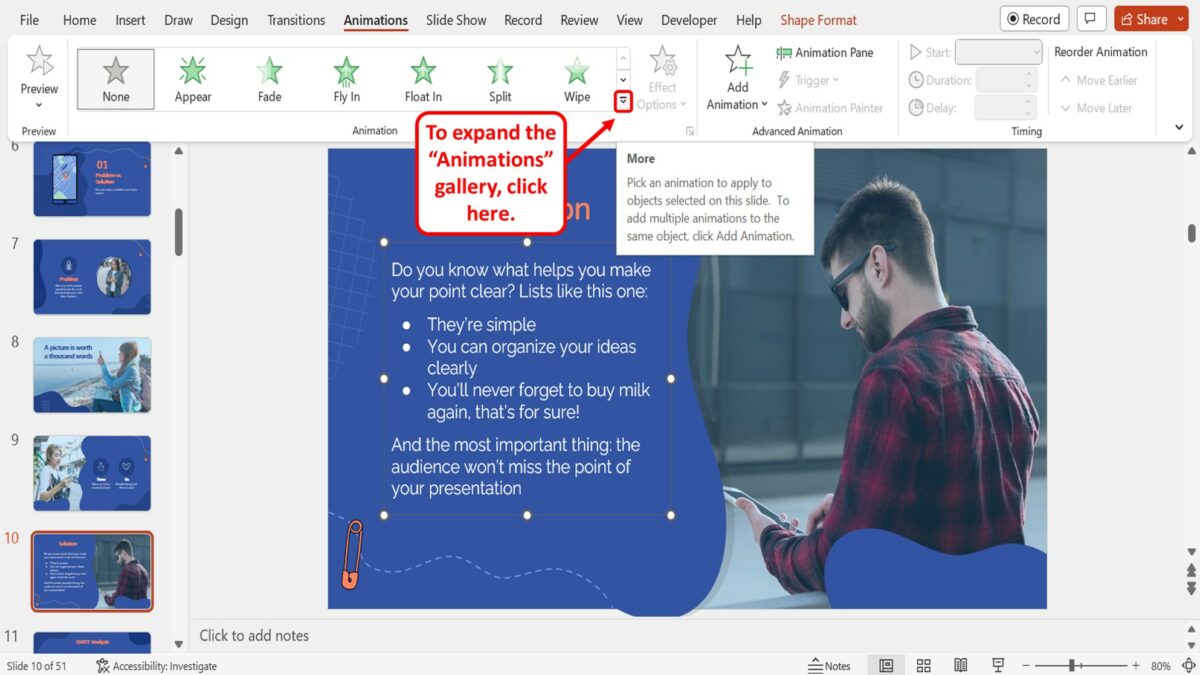
The next step is to expand the “Animation” gallery. To do so, click on the “More” option which is the down arrow at the bottom right corner of the “Animation” group in the “Animations” menu.
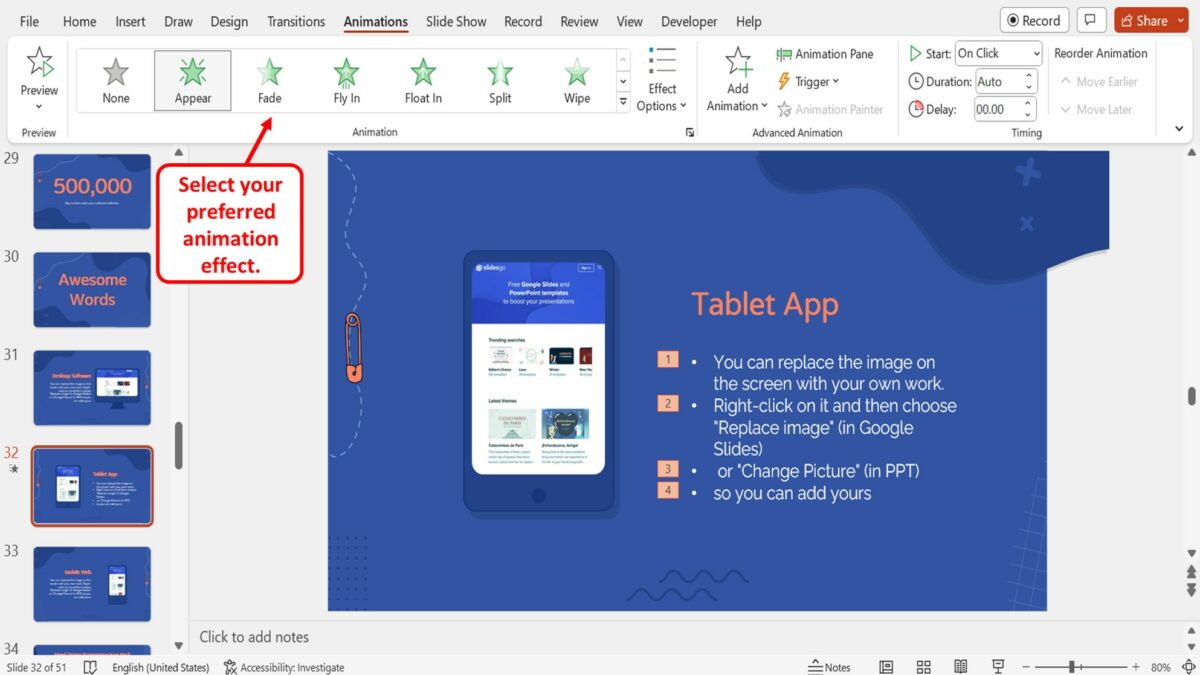
Step-3: Select your preferred animation style
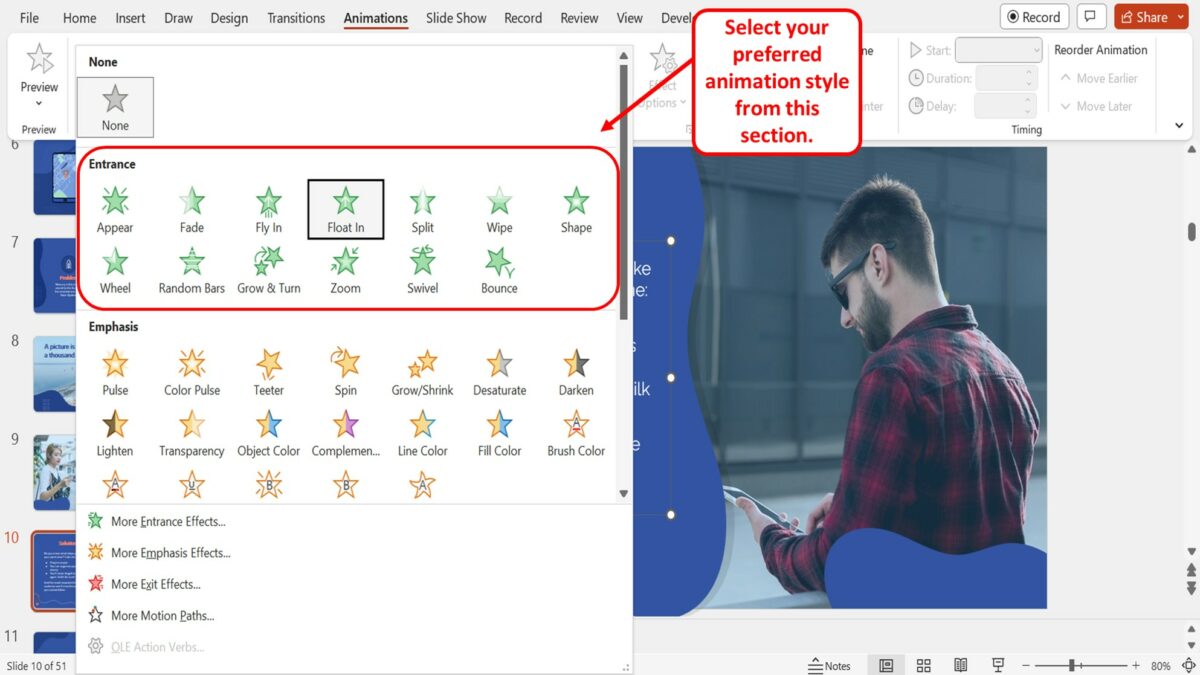
Finally, all you have to do is click on your preferred animation style from the “Entrance” section of the expanded “Animation” gallery to animate the selected text box containing a bullet list.
2. How to Animate Bullet Points One at a Time in PowerPoint?
In Microsoft PowerPoint, each bullet point is added to a text box as a new paragraph. So you can animate the text box by each paragraph to make the bullet points appear one at a time during a presentation. To do so, all you have to do is follow the 4 simple steps.
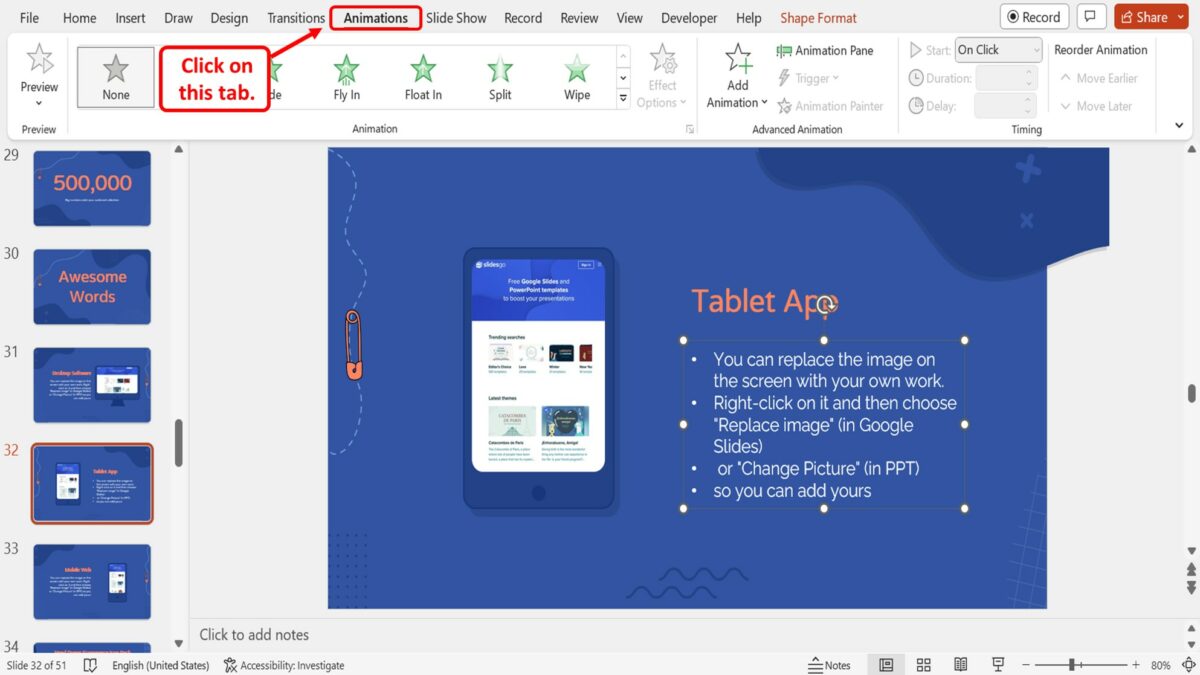
Step-1: Click on the “Animations” tab
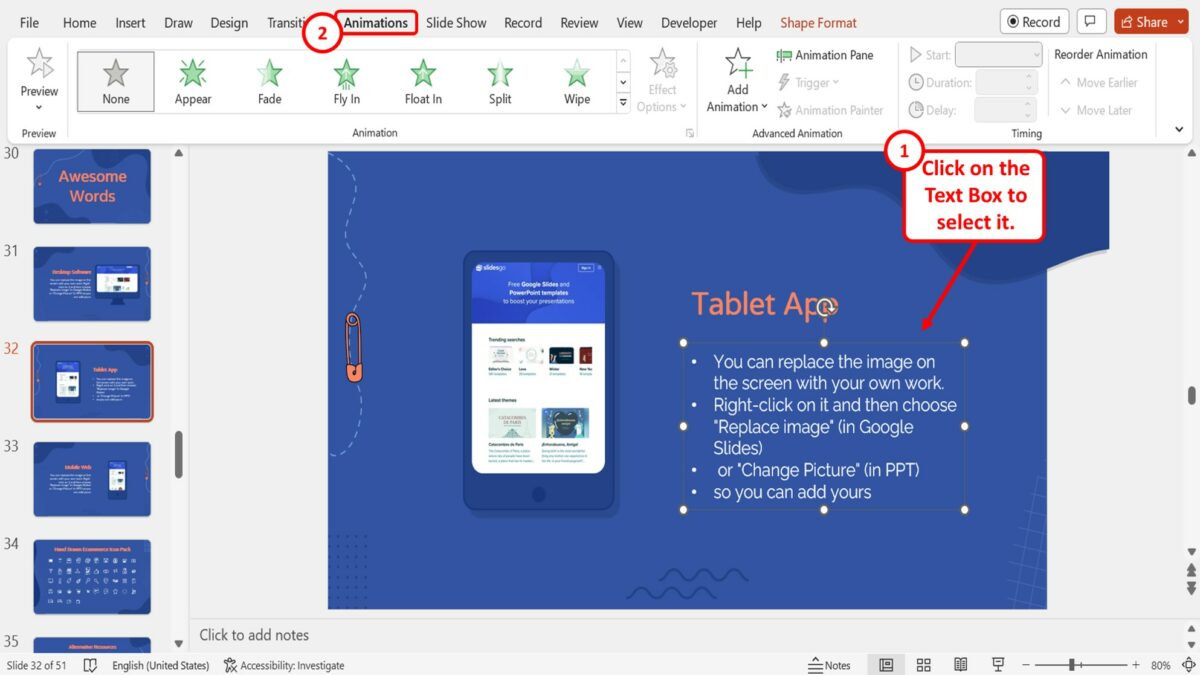
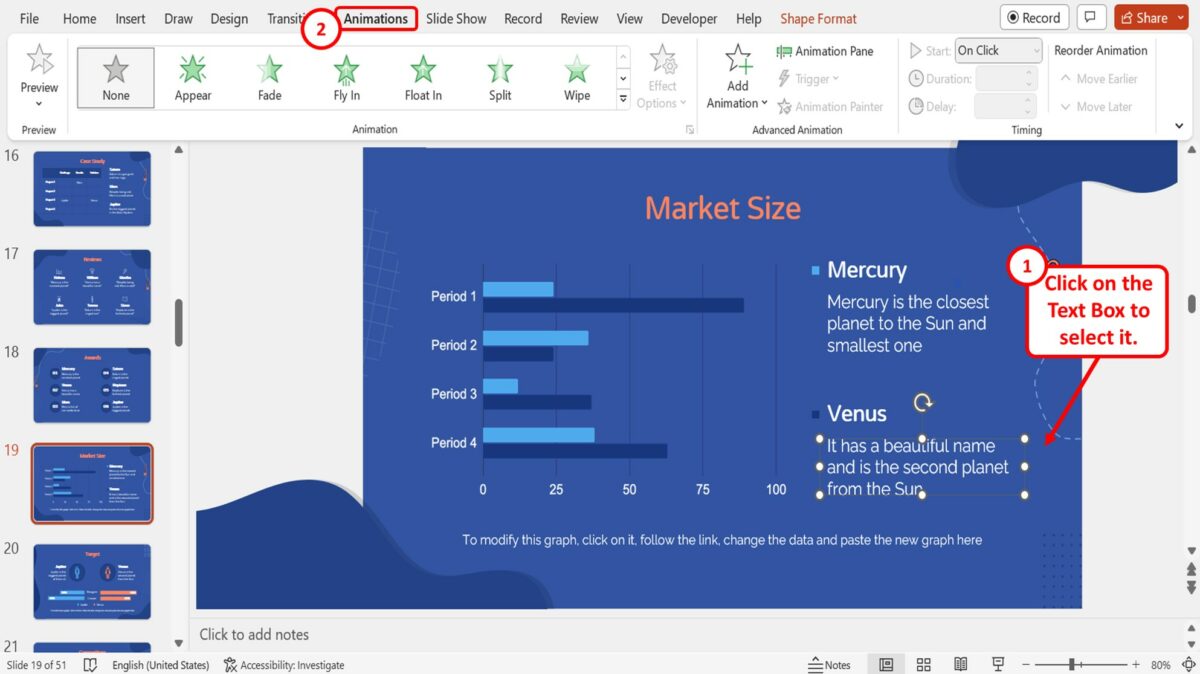
The first step is to select the text box containing the bullet list that you want to animate. Then click on the “Animations” tab in the menu ribbon located at the top of the screen.
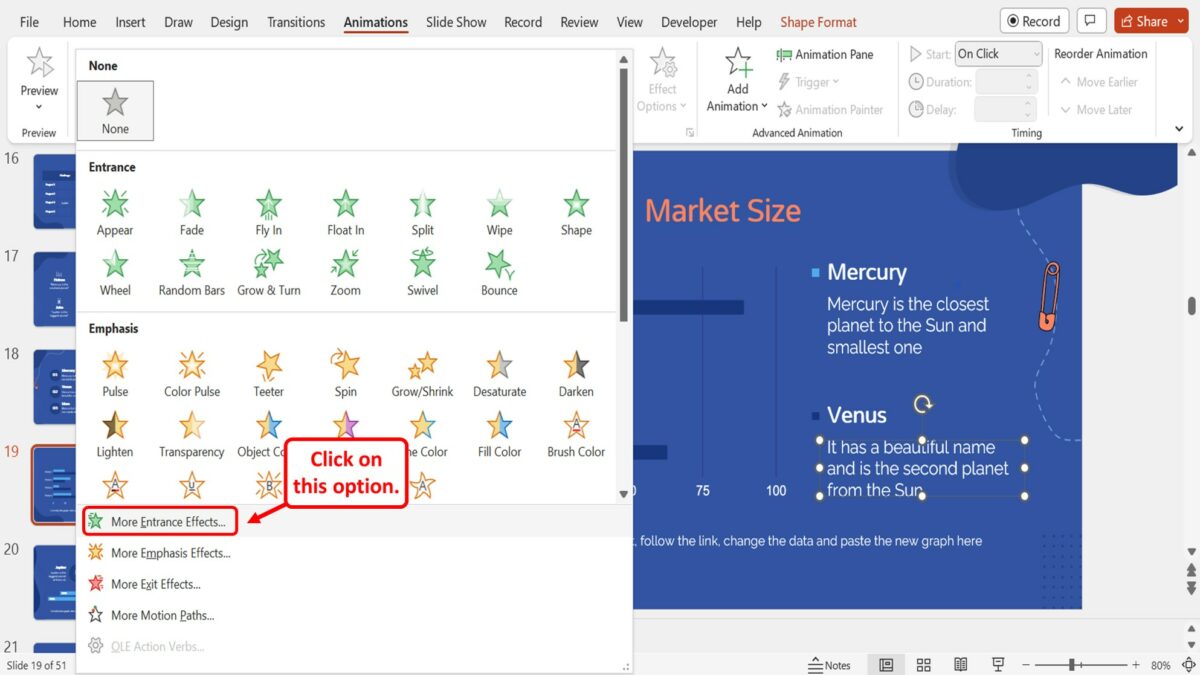
Step-2: Click on the “More Entrance Effects” option
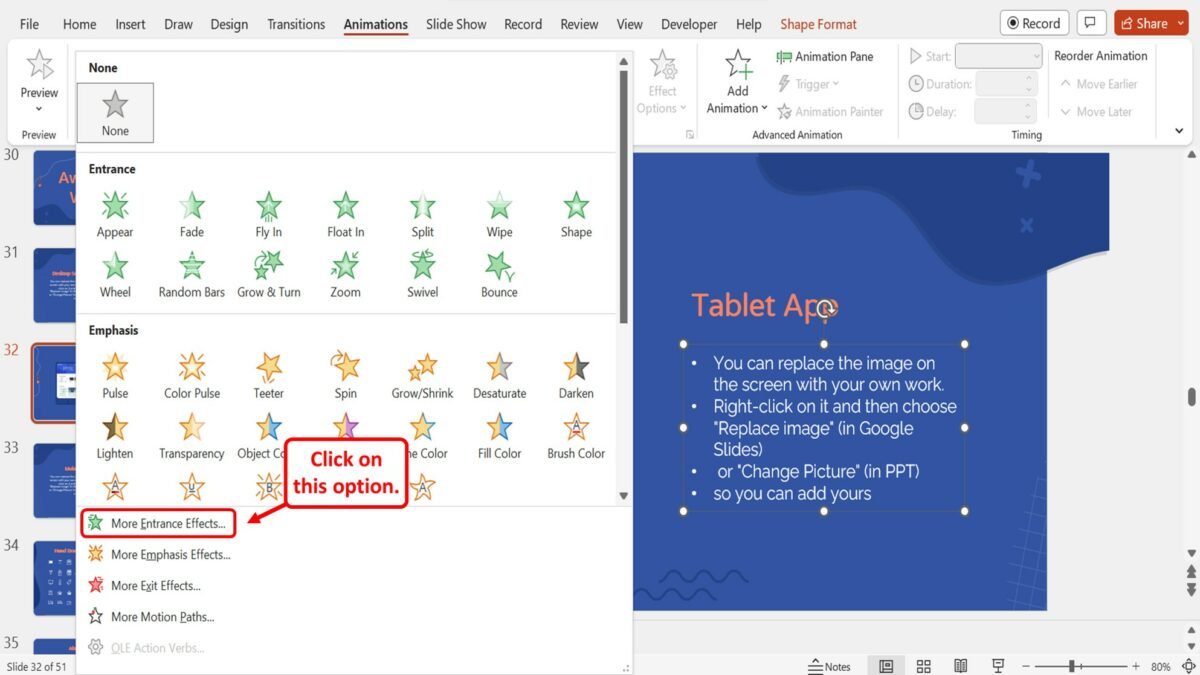
In the “Animation” group of the “Animations” menu, click on the “More” option which is the down arrow at the bottom right corner. Then click on the “More Entrance Effects” option at the bottom of the dropdown menu under the “Animation” gallery.
Step-3: Click on the “OK” button
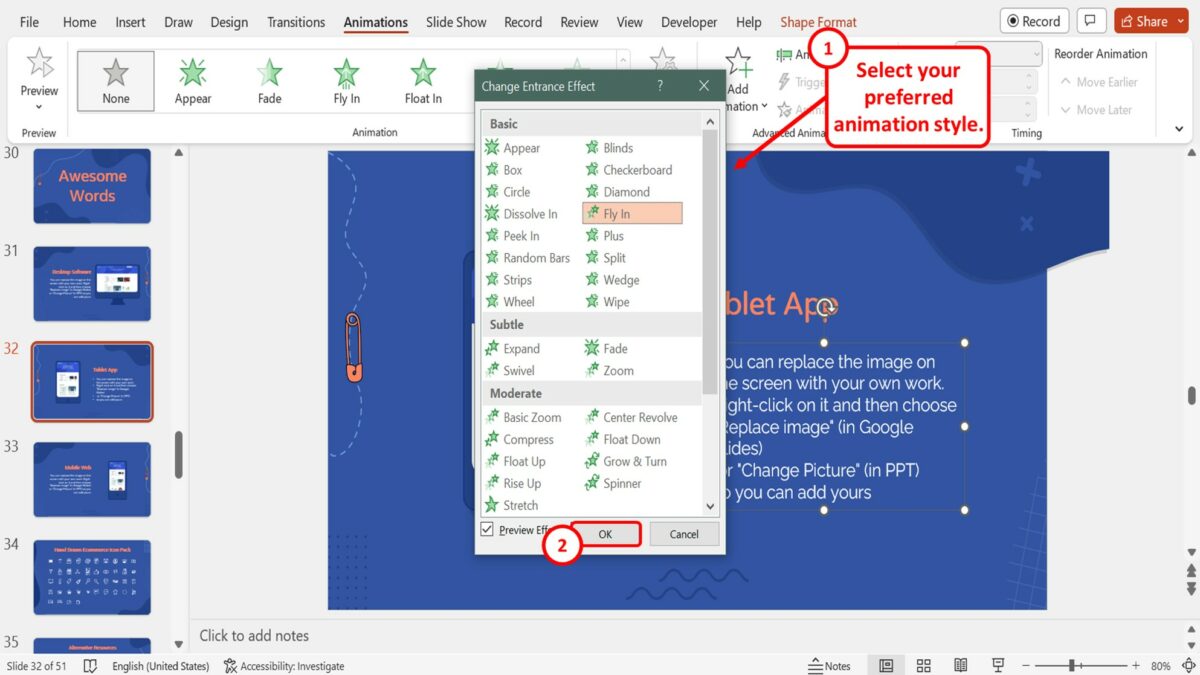
In the “Change Entrance Effect” dialog box, click on your preferred animation style option. Then all you have to do is click on the “OK” button at the bottom of the dialog box to add the animation effect to the selected text box.
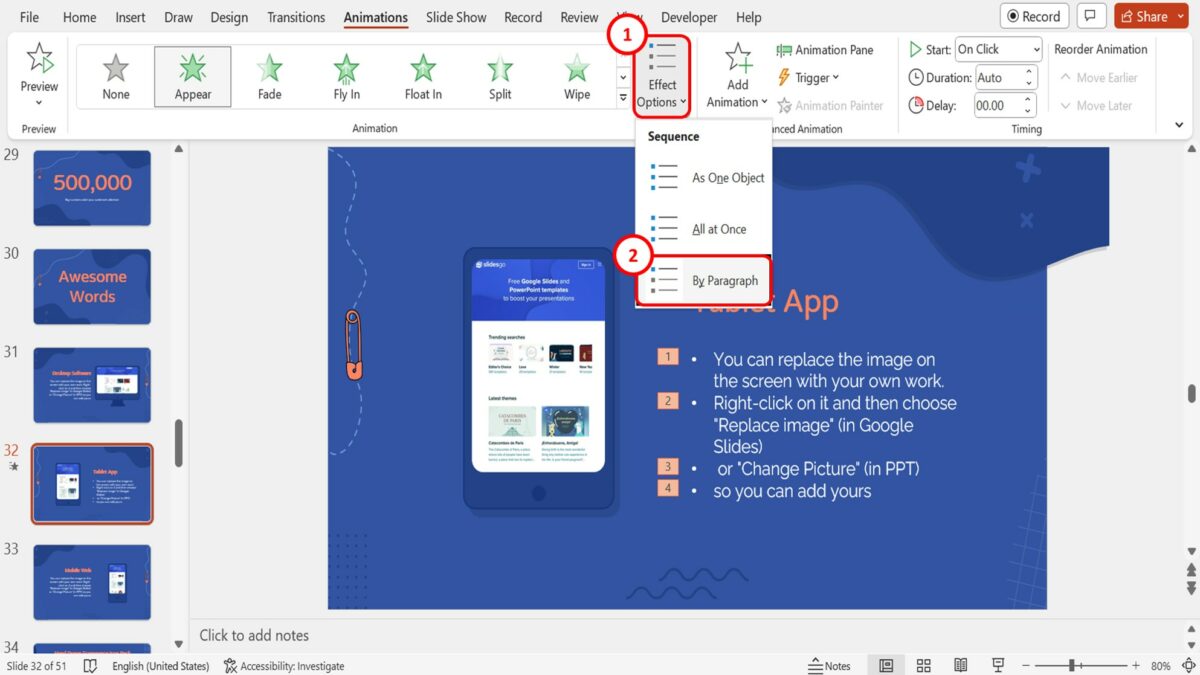
Step-4: Click on the “By Paragraph” option
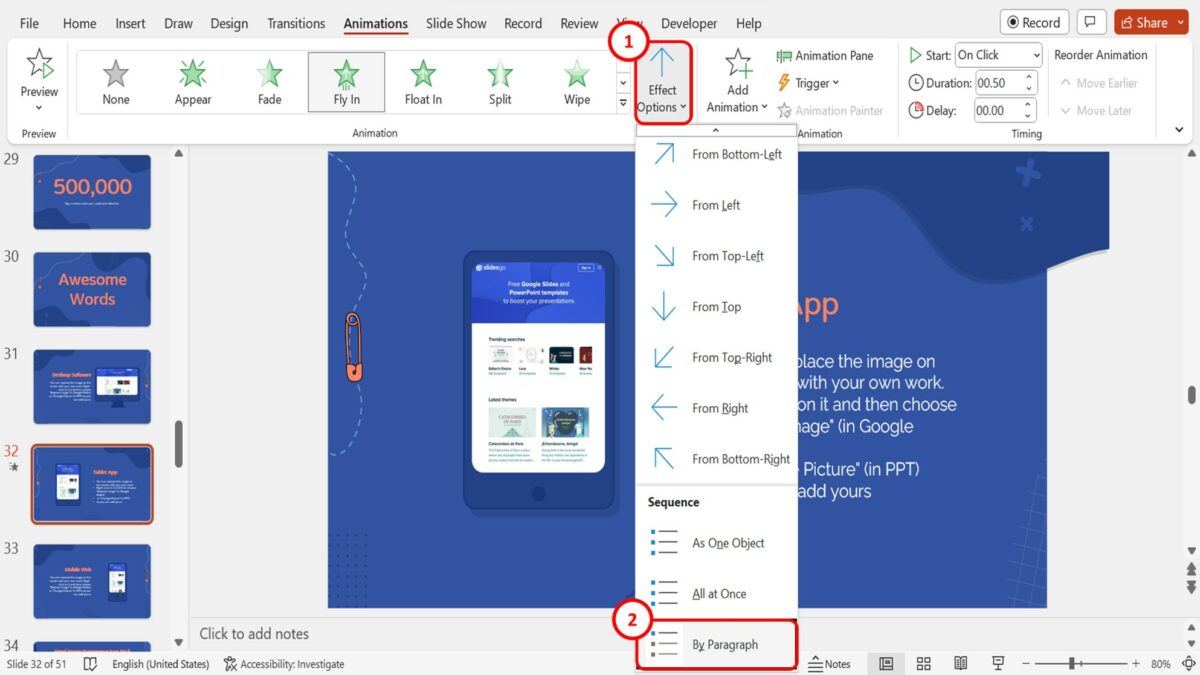
The final step is to animate each bullet point. All you have to do is click on the “Effect Options” button in the “Animation” group of the “Animations” menu. Then click on the “By Paragraph” option under the “Sequence” section of the dropdown menu under the “Effect Options” button to make the bullet points appear one at a time.
3. How to Make Bullet Points Appear by Clicking in PowerPoint?
The “Trigger” option in Microsoft PowerPoint allows you to add animations so that the animated bullet list appears only when you click on the slide. To make bullet points appear by clicking on the slide, follow the 4 easy steps.
Step-1: Click on the “Animations” menu
The first step is to add an animation effect to the bullet list. To do so, you have to first click on the “Animations” tab in the menu ribbon at the top of the screen to open the “Animations” menu.
Step-2: Click on your preferred animation
In the “Animation” group of the “Animations” menu, all you have to do is click on your preferred animation effect for the bullet list.
Step-3: Click on the “Effect Options” button
The next step is to animate so that the bullet points appear one at a time. To do so, click on the “Effect Options” button in the “Animation” group of the “Animations” menu. Then click on the “By Paragraph” option under the “Sequence” section which is at the bottom of the dropdown menu under the “Effect Options” button.
Step-4: Click on the “Trigger” option
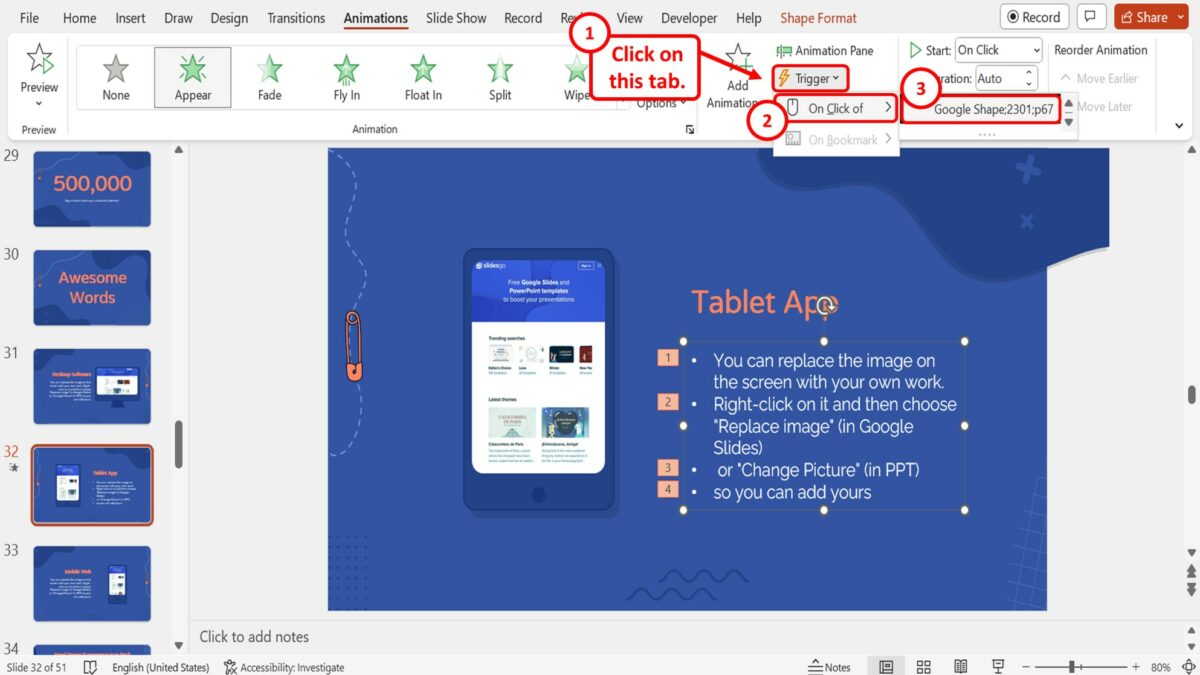
In the “Advanced Animation” group of the “Animations” menu, click on the “Trigger” option. Then click on the “On Click of” option in the dropdown menu under the “Trigger” option. Then click on the name of the text box in the pop-up menu by the “On Click of” option.
4. How to Make Text Appear One Letter at a Time in PowerPoint?
In Microsoft PowerPoint, you can add a typing effect to the text in a text box. To do so, you have to animate the text in a way that makes the letters appear one at a time. All you have to do is follow the 8 simple steps.
Step-1: Click on the “Animations” tab
The first step is to open the “Animations” menu. To do so, you have to first select the text box where you want to add the typing effect. Then click on the “Animations” tab in the menu ribbon located at the top of the screen.
Step-2: Click on the “More Entrance Effects” option
In the “Animations” menu, you have to now click on the “More” option. It is the down arrow in the bottom right corner of the “Animation” group. Then click on the “More Entrance Effects” option in the dropdown menu under the “Animation” group. This will open a dialog box.
Step-3: Click on the “Preview Effect” option
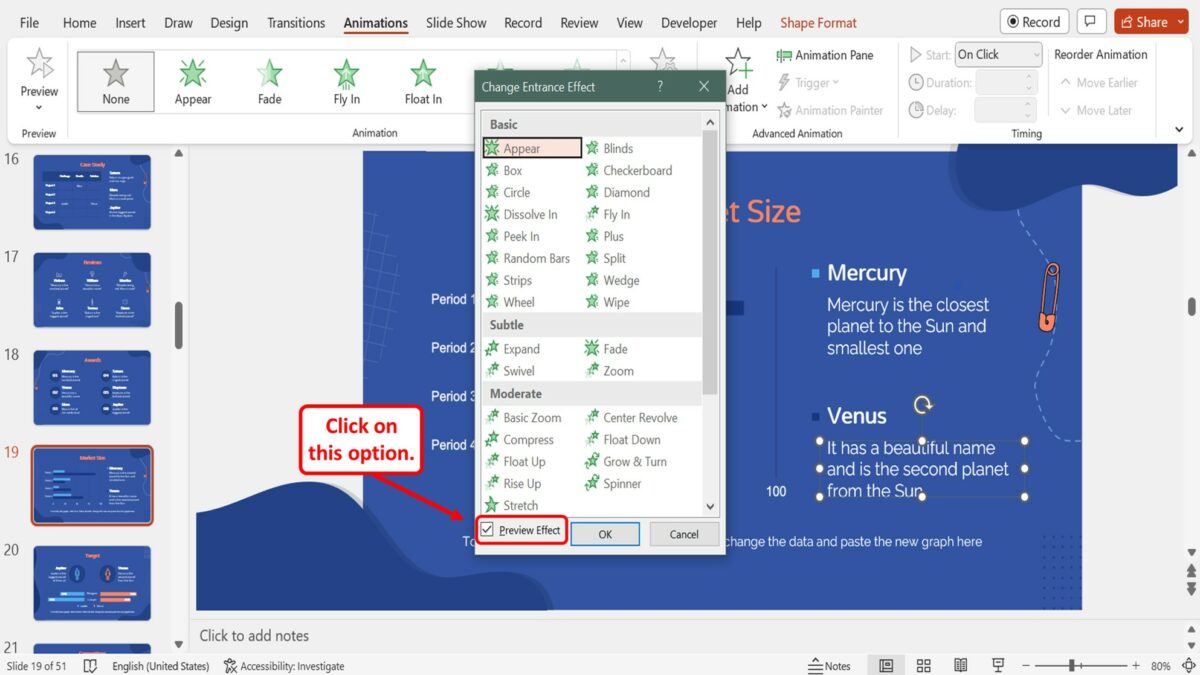
In the “Change Entrance Effect” dialog box, you have to first click on the “Preview Effect” option at the bottom. A check mark will appear by the “Preview Effect” option when it is enabled.
Step-4: Click on your preferred animation effect
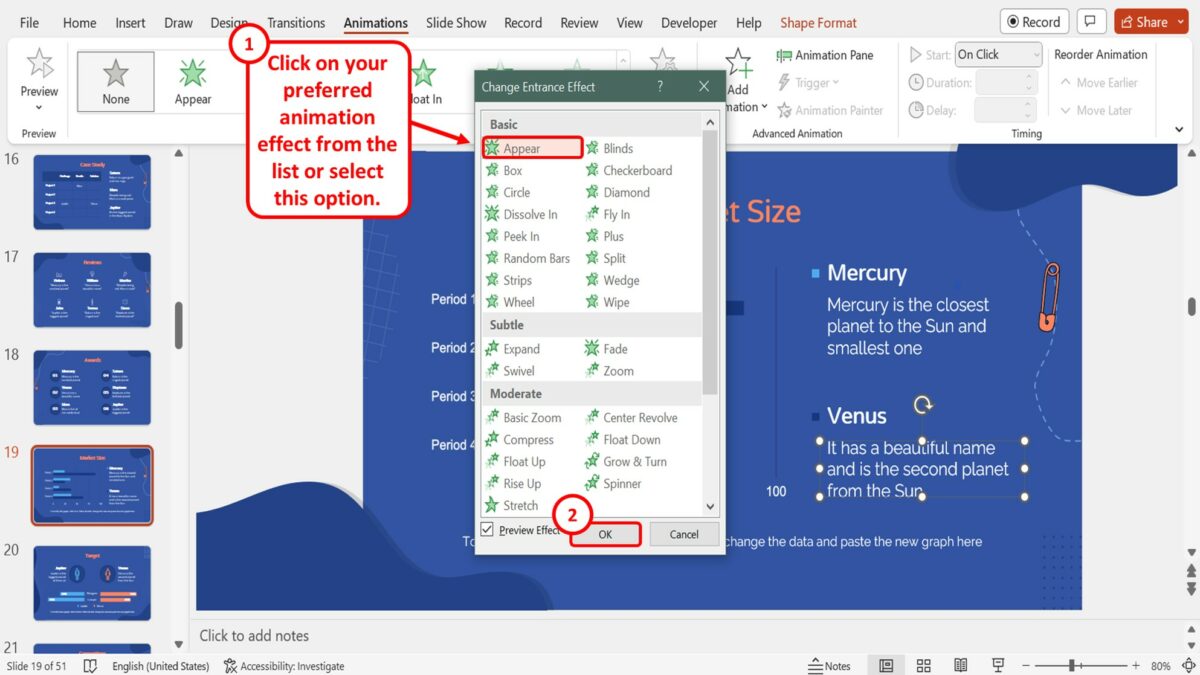
In the “Change Entrance Effect” dialog box, click on your preferred animation effect. For the typing effect during the presentation, you can click on the “Appear” animation effect. Then click on the “OK” button at the bottom of the dialog box to apply the selected animation effect.
Step-5: Click on the “Animation Pane” option
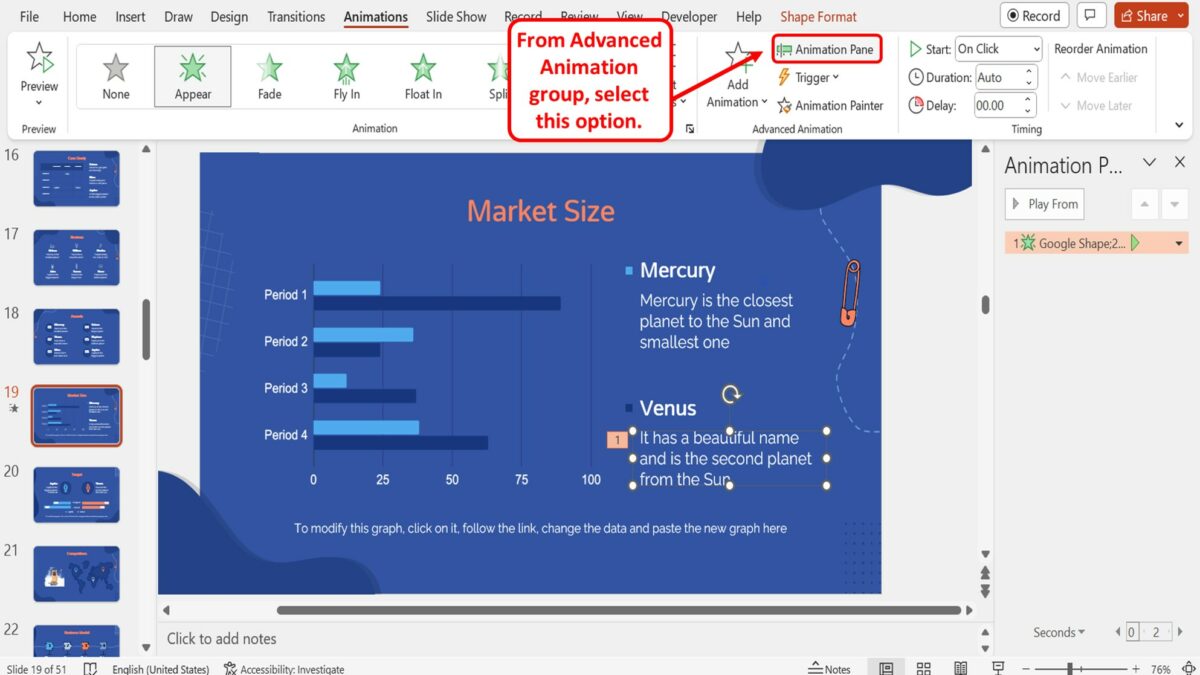
The next step is to open the “Animation Pane” sidebar on the right side of the screen. To do so, click on the “Animation Pane” option in the “Advanced Animation” group of the “Animations” menu.
Step-6: Click on the “Effect Options” option
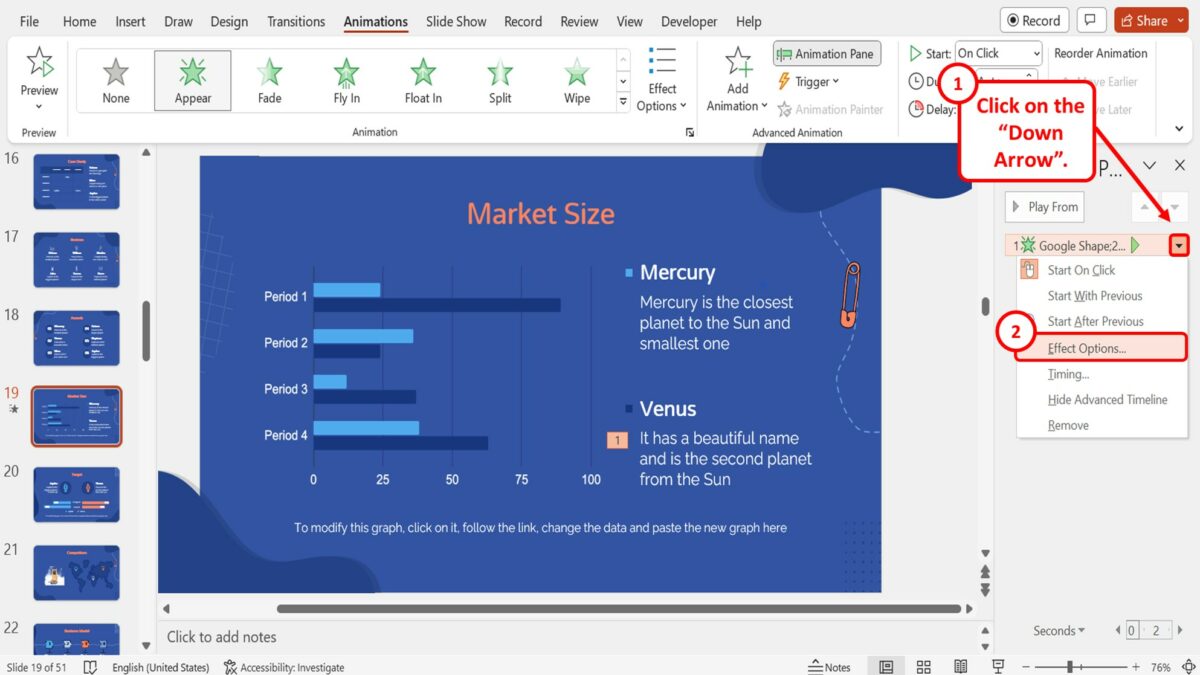
In the “Animations Pane” sidebar, click on the down arrow by the text box shape. Then click on the “Effect Options” option in the dropdown menu under the down arrow. This will open the dialog box.
Step-7: Click on the “By letter” option
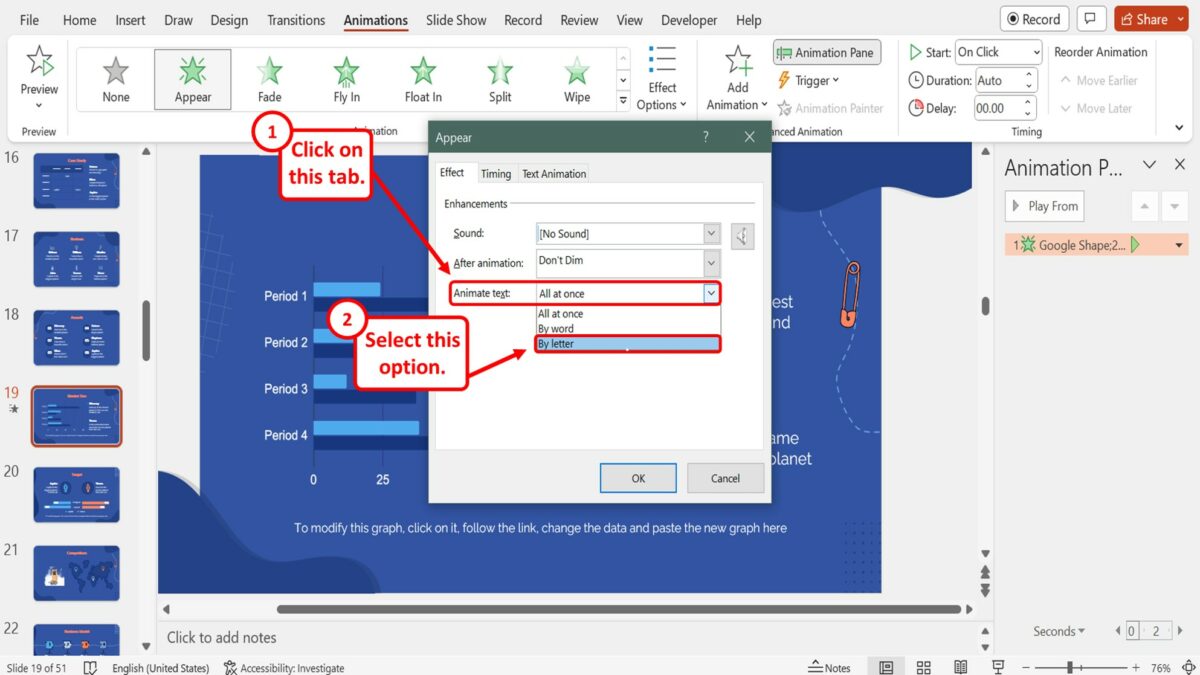
In the “Effect” tab of the “Appear” dialog box, click on the “Animate text” box. Then click on the “By letter” option from the dropdown menu under the “Animate text” box.
Step-8: Click on the “OK” button
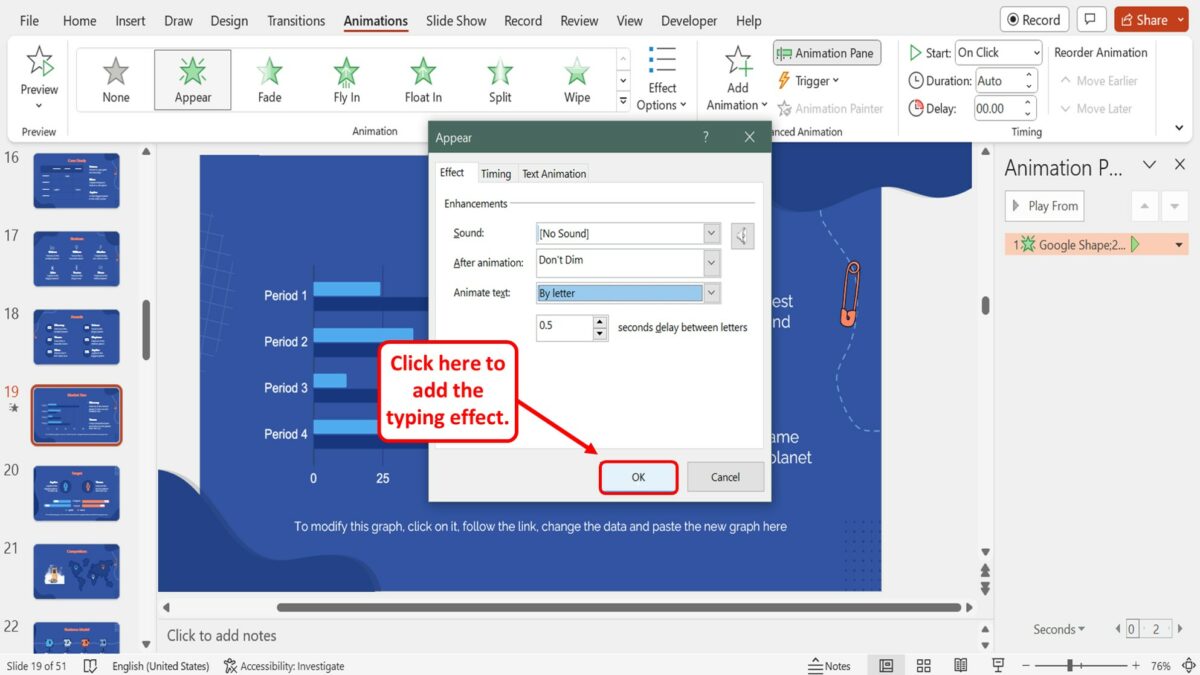
Finally, all you have to do is click on the “OK” button at the bottom of the “Appear” dialog box to add the typing effect to the text in the text box.