
Presentations can sometimes be lengthy. Often, this is because you have to create the presentation for different needs. Navigating a presentation like this can be daunting for someone looking for specific pieces of information. That is where choice boards come in but what exactly are they? Well, let’s take a look.
Choice boards on Google Slides allow you to make your presentations interactive. Adding choice boards to a presentation provides multiple options for the audience to navigate the same presentation. Choice boards can be a great way to conduct digital learning educative lessons.
In today’s article, we want to walk you through everything you need to know about choice boards within Google slides. We will walk you through how to create them, and we are also going to give you a few examples of how choice boards can be used.
Before we even start, I want to say that choice boards are great for teachers, but they can be used in various professions. So, let’s first understand more about choice boards.
What are Choice Boards?
Choice boards are a method of presenting Google slides in an interactive way that allows people who view or work with the slides to control their experience. It is basically an interactive menu. All you are doing is creating a front page with a series of options, and each option links to a destination within the slides.
This allows students or peers to use a presentation in a way that suits them. The choice is in their hands. You create all the data, but maybe that data does not apply to specific individuals, and therefore, with the click of their my house, they can choose to go somewhere else on the presentation.
There is no “best use scenario” for choice boards because they can be used in a wide range of industries. However, choice boards are an excellent way for teachers to develop interactive distance learning lessons for their students.
It also helps save time as you can combine lessons into one presentation and have a student read a few instructions before deciding where they need to go depending on a lesson they want to learn.
How do Choice Boards Work in Classroom with Digital Learning?
Remote learning has become a new standard, and we can expect that a lot of parents might choose distance learning as their preferred way of teaching their kids in the future. So, schools and teachers need to adapt to the current times, and most of them have done so gracefully.
Programs such as Google slides, Google classroom, Seesaw, and creating choice boards have made distance learning more manageable than it has ever been before.
Many teachers have figured out that they can combine Google slide presentations with Google classroom, and in this section, we will take a look and how these two programs work together.
Google Slides is what you use to create the choice boards, and Classroom is how you tweak and deliver the presentation. You start by creating your google slides presentation. You should make the presentation a choice board activity. You then go into Google Classroom and import the presentation.
Once you have done this, you can use the power of Google classroom to tweak your presentation to act as an informative lesson and interactive test.
How to Make a Choice Board in Google Slides?
You can also find a lot of choice board templates online. Some are paid, and some are free. When you do this, don’t be afraid to change the template according to your style and personality.
If you use a premade choice board template, try and get one that is as close to your subject as possible. The best thing about this is that all the links and text boxes are already added. All you have to do is fill the content into each slide according to how they are linked to the choice board.
Here’s a video explaining how you can create choice boards in Google Slides –
I’ve also explained how to create choice board in a step-by-step process below –
Step 1 – Create Your Presentation
You can either start with a blank presentation and create all the text boxes yourself. However, Google slides offer a wealth of templates. They give you a good starting place. Once you find a template you like, you open it up and fill in your content.
Step 2 – Create a Slide with Instructions
Your first slide should have instructions on how to use the presentation. People often make the mistake of placing their choice board in the first slide, which can make your presentation overwhelming.
The board should have instructions to state how the user will operate the choice board. Be sure to add instructions for them to click the home button to return to the menu. Sometimes this gets overlooked and can make navigating your presentation a lot easier.
If you are a teacher, obviously you want to explain everything to your students. You can also make it so that each page has a set of instructions on how they should operate each slide.
Step 3 – Create a Slide with Text Boxes
This is pretty simple. All you do is create text boxes. To make all of your boxes uniform, you can create the first one and press Ctrl, and while holding it down, drag the textbox into its following location and repeat this step for how many boxes you need.
You can play around with the boxes themselves by changing their border size and color. You can also play around with the look and feel of each textbox. Remember, it doesn’t always have to be a square. You can use pretty much any shape that you want.
Step 4 – Add Hyperlinks to Each Text box
Adding hyperlinks to each textbox is the backbone of a choice board. Without the links, the board does not exist.
It is a step-by-step process, so here are my 7 easy steps to adding hyperlinks to your text boxes.
- In the textbox, write what will happen if you click the link.
- Highlight the text within the textbox.
- Right-click on the text.
- In the drop-down menu, select “Link.”
- You can either paste a link from an external source or link to a slide.
- To link to a slide, select “Slides In This Presentation.”
- Select the slide that you wish to link.
It would help if you remembered to not edit the text after this. Instead, you select the linked text, right-click on it and select “Link.” From here, you will be able to edit the link and/or the text.
How to Make an Interactive Choice Board?
Choice boards are already interactive. Your students, colleagues, or peers interact with it when they make a choice. However, there are a few things that you can do to make your presentation feel more interactive to your viewers.
- Add videos
- Use Seesaw or Classroom to allow the viewer to edit slides
- Add links to related slides within each slide.
- Always have a “Home” or “Back To Menu” button.
Doing all of this will make your presentation feel more interactive by giving your viewer complete control of their experience.
Choice Board Examples (with Google Slides)
Here are a few examples of what choice boards can be used for. We decided not to include things that most people already know about.
Also, there are countless ways in which you can use choice boards in your presentation. Obviously, it would be difficult to cover them all in this article. So, I’ve included 3 examples below of when you can use choice boards in your presentation.
1. Showcase Your Portfolio
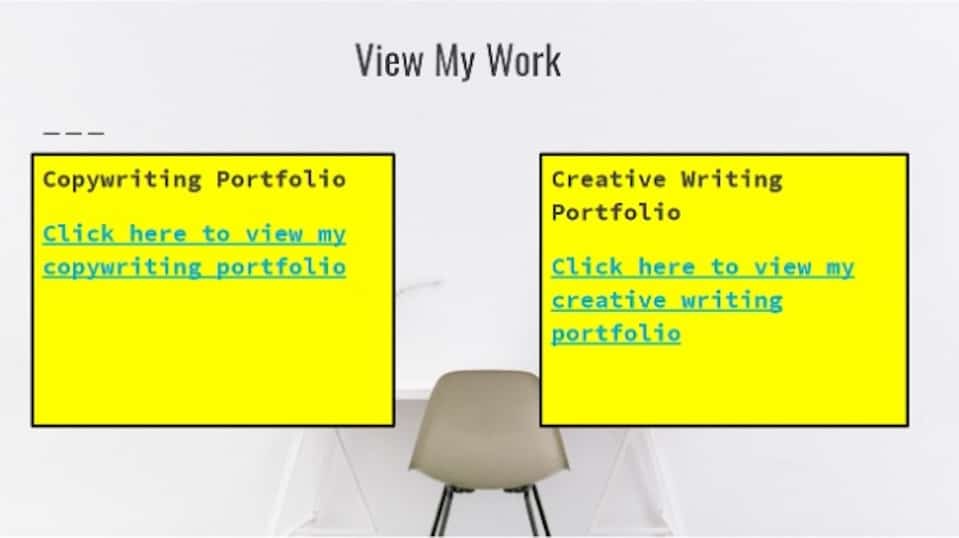
If you are a freelancer or someone looking for a job, you can use choice boards to showcase your portfolio. You can make a choice board that links to slides, and within those slides, you can have links to your actual work.
2. Give Your Students a Field Trip
While this may not be the easiest thing to do for teachers, it is possible to give your students digital field trips.
You can also provide them with a choice of what to see. If you integrate this with Seesaw or Google Classroom, you can make interactive field trips and quiz your students on which destination they chose
3. Give Your Colleagues a Choice of What to See
Suppose you have to create a presentation for work that covers multiple different departments within your company.
In that case, one way to impress your peers is to deliver the presentation as a choice board. Your colleagues can then view the presentation in its entirety, or they can navigate to sections that they need to see.
This saves them time, and overall it makes you look good. You thought outside of the box, and your work will be appreciated.
Final Thoughts
That brings us to the end of this article. The way you create your presentations says a lot about you, and creating choice boards to make it easier to navigate your presentation shows that you are thoughtful of other people’s time.
A choice board allows you to hold the user’s attention for longer. This is because the user won’t have to navigate through information that is not relevant to them to get to theirs.