If you use Microsoft PowerPoint to create your presentations, there will be a point in time when you will need to print the presentation that you have created! Regardless of whether you print a physical copy or a PDF version of your presentation, you need to know the steps required to print a PowerPoint presentation!
To print a PowerPoint presentation, click on the “File” tab. Then, click on the “Print” tab in the “Backstage View”. Choose the slides that you need to print, adjust the settings, select the printer, and click on the “Print” button.
In this article, we shall understand the process to print a PowerPoint presentation in further detail. We will look at things like how to print your presentation with notes, how to create handouts, and how to print multiple slides on a single page!
That, and much more in this detailed article on printing a PowerPoint presentation!
So, let’s get started, shall we?
1. How to Print a PowerPoint Presentation?
Let’s get straight to the important part of this article! How exactly does printing in PowerPoint work?
Microsoft PowerPoint offers a simple and quick printing feature. By default, one slide will print on a single sheet of paper. However, there are options provided that can help you save paper by printing multiple slides on a single sheet of paper. We shall take a look at all these settings in a little while.
You can also choose to print notes along with the slides. This can be super helpful when you want to prepare for your presentation and you don’t have access to the soft copy of the presentation file!
But, how exactly does the process to print a presentation work? Let’s explore the step involved for both Windows and Mac in the below sections –
1a. How to Print a PowerPoint File on PC
In a Windows PC connected to a printer, you can print a PowerPoint file very easily. All you have to do is follow the 3 simple steps.
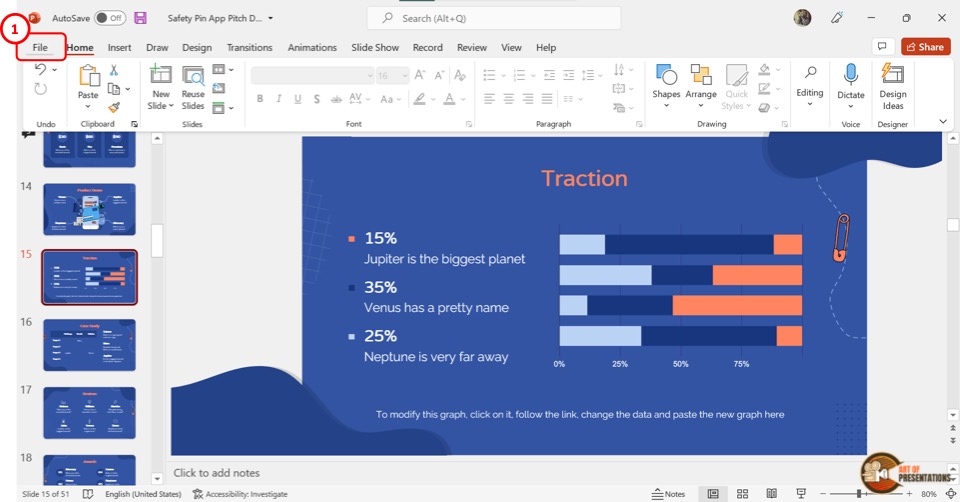
Step-1: Click on the “File” tab
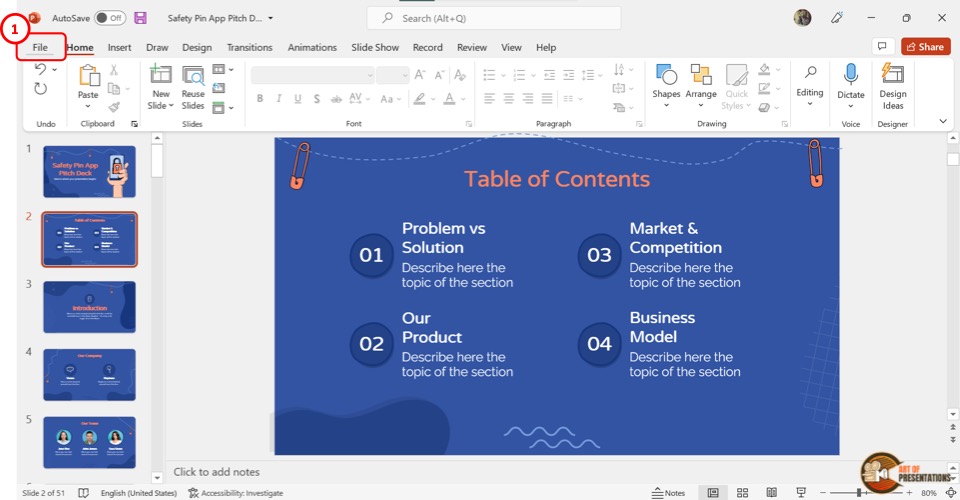
In the Microsoft PowerPoint document, click on the “File” tab. It is located on the left side of the menu bar at the top of the screen.
In the “File” menu, click on the “Print” option from the sidebar on the left side of the screen.
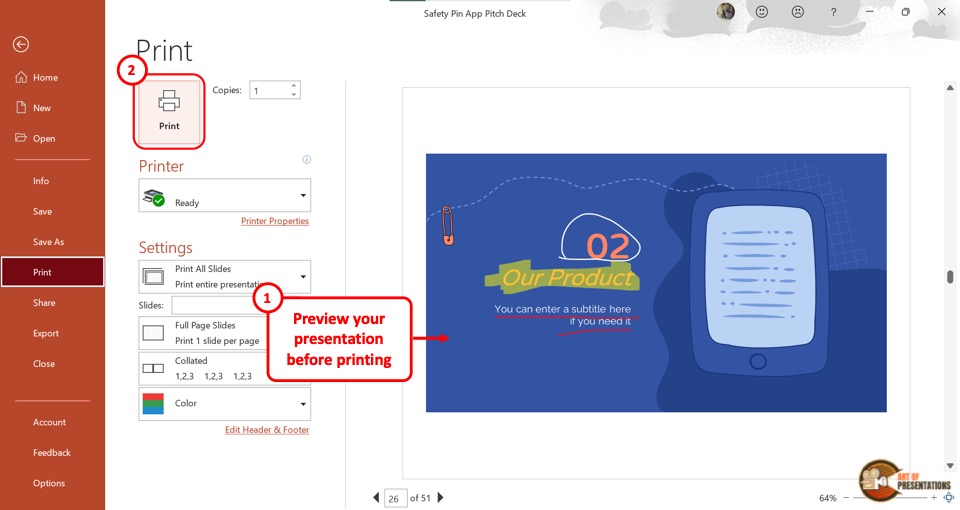
Step-2: Select preferred settings
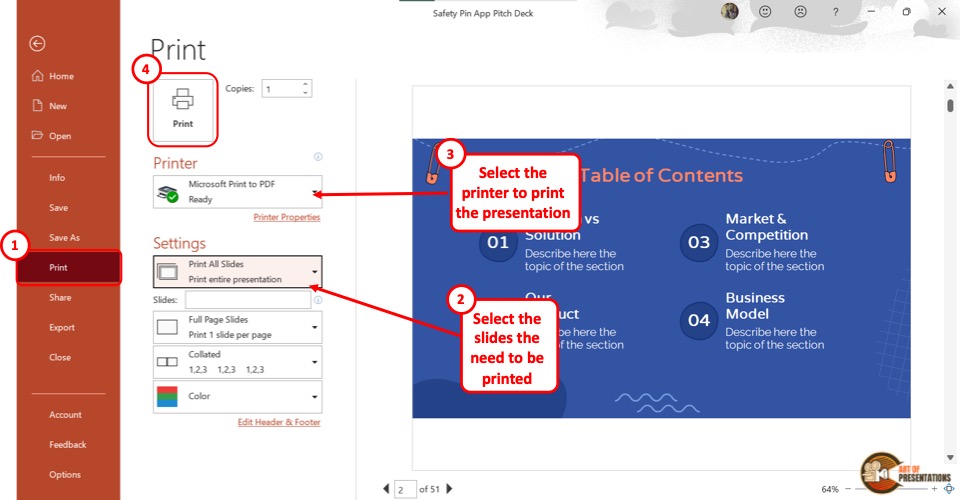
The “Print” option will show you a print preview as well as print settings on the screen. Under the “Settings” option, you can select your preferred settings.
If you don’t have a printer connected to your computer, you may need to first set it up. If you don’t know how to do that, check out this article on how to set up your printer.
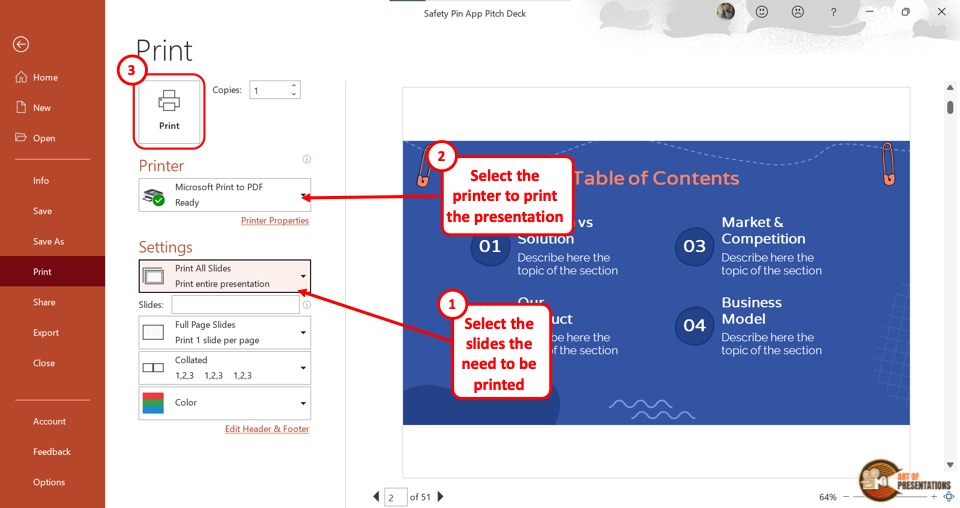
Click on the “Print All Slides” box to select the specific slides that you want to print. You can also click on the “Full Page Slides” button to select the number of slides you want to print on each page.
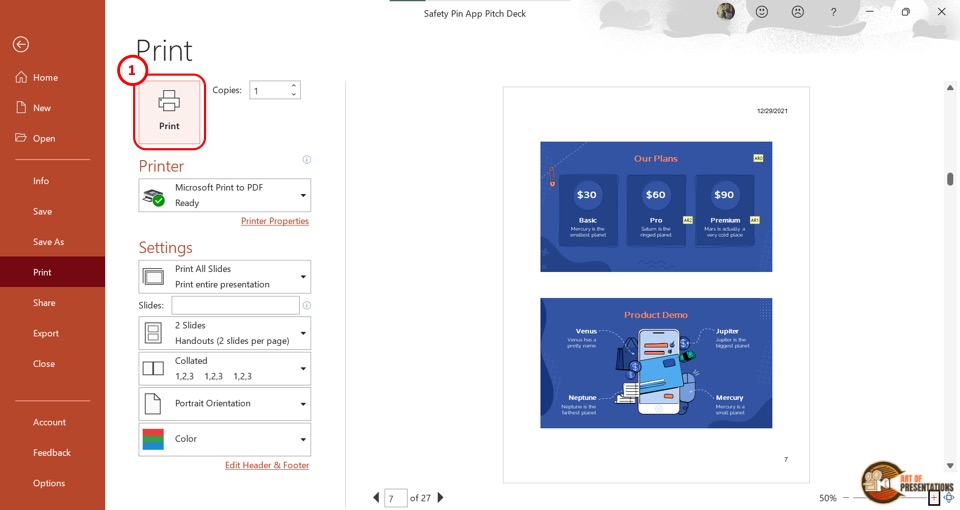
Step-3: Click on the “Print” button
Now all you have to do is click on the “Print” button at the top of the screen to print a copy of your PowerPoint presentation (as shown in step 2).
1b. How to Print a PowerPoint Presentation on Mac?
Microsoft PowerPoint has a quite simple process for printing a presentation on Mac. Follow the 4 easy steps.
Step-1: Click on “File”
In the menu bar located at the top of the screen, click on the “File” tab to access the dropdown menu. Select the “Print” option from the dropdown menu. This will open a “Print” dialog box.
Step-2: Click on the “Show Details” option
The next step is to click on the “Show Details” option located at the bottom of the “Print” dialog box.
Step-3: Select your preferred settings
Now all you have to do is change the settings according to your preference. You can select how many copies to print by clicking on the “Copies” box.
There are also other settings that you can change like “Paper Size”, “Layout” and “Orientation”. You can also click on the “Slides” option to select which slides to print.
Step-4: Click on the “Print” option
The final step is to click on the “Print” option in the right corner at the bottom of the “Print” dialogue box.
2. Shortcut to Print a PowerPoint Presentation
For printing out a PowerPoint presentation very quickly, you can use the shortcut keys. All you have to do is follow the 2 easy steps.
Step-1: Press the “Ctrl+P” keys
The first step is to open the PowerPoint presentation that you want to print. Then press the “Ctrl+P” keys on your keyboard to open the “Print Preview” screen.
Alternatively, you can press the “Ctrl+Shift+F12” keys on your keyboard to access the print option.
Step-2: Click on “Print”
Now all you have to do is click on the “Print” button at the top of the “Print Preview” screen. This will print the presentation slides with the default settings.
3. How to Print Multiple Slides Per Page?
Using the “Handouts” feature in Microsoft PowerPoint, you can print multiple slides per page. All you have to do is follow the 3 quick steps.
Step-1: Click on the “File” menu
The first step is to click on the “File” option in the menu bar located at the top of the screen. In the “File” menu, click on the “Print” option from the sidebar on the left side of the screen.
This will open the “Print Preview” screen.
Step-2: Click on the “Full Page Slides” box
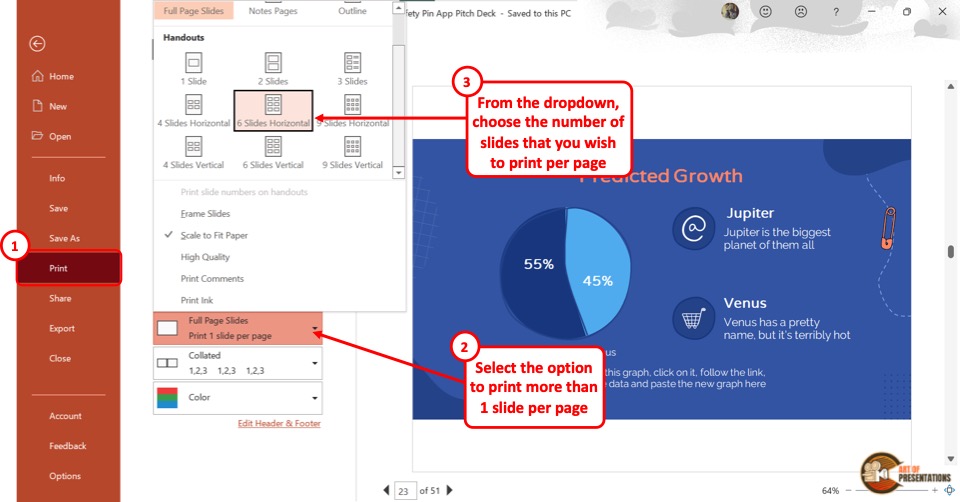
Now you have to click on the “Full Page Slides” box under the “Settings” option in the “Print Preview” screen. This will open a dropdown menu. Click on any option under “Handouts” that you prefer. There are nine different options to choose from.
You can print from one to nine slides per page.
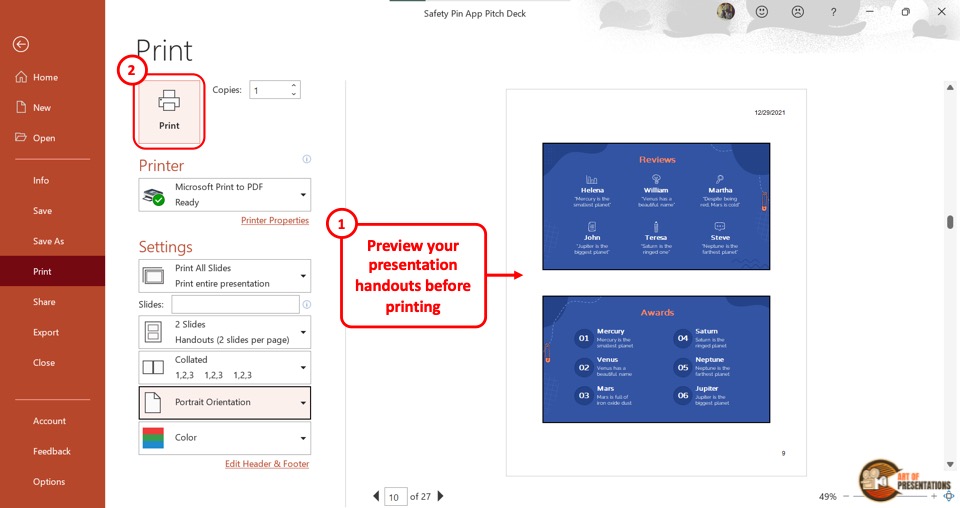
Step-3: Click on “Print”
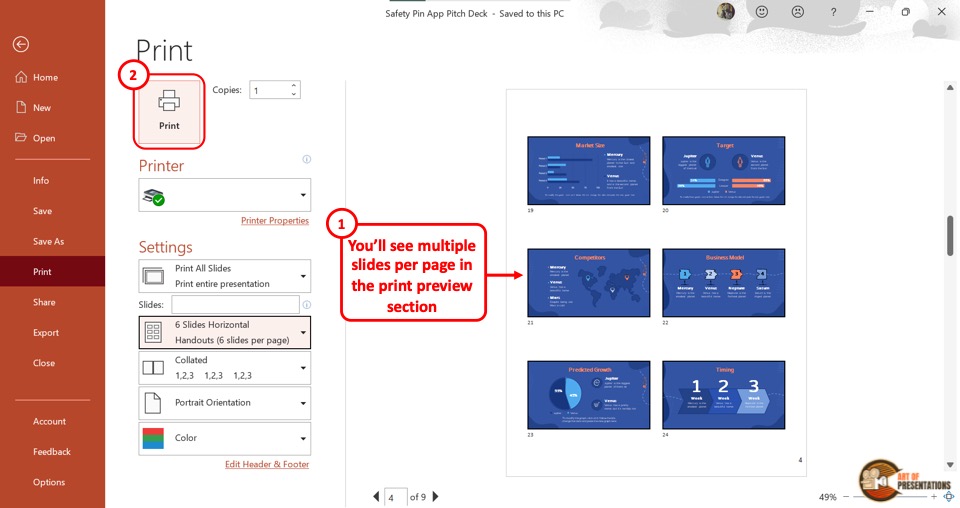
After selecting your preferred number of slides per page, all you have to do is click on the “Print” button at the top of the screen to print the PowerPoint presentation.
4. How to Print PowerPoint Slides with Notes?
Microsoft PowerPoint offers the feature to take notes for each slide. These notes can be helpful for both the presenter and the audience.
The steps for printing PowerPoint slides with notes are slightly different on PC and Mac.
4a. On PC
To print PowerPoint slides with notes on PC, follow the 3 easy steps.
Step-1: Click on the “Print” option
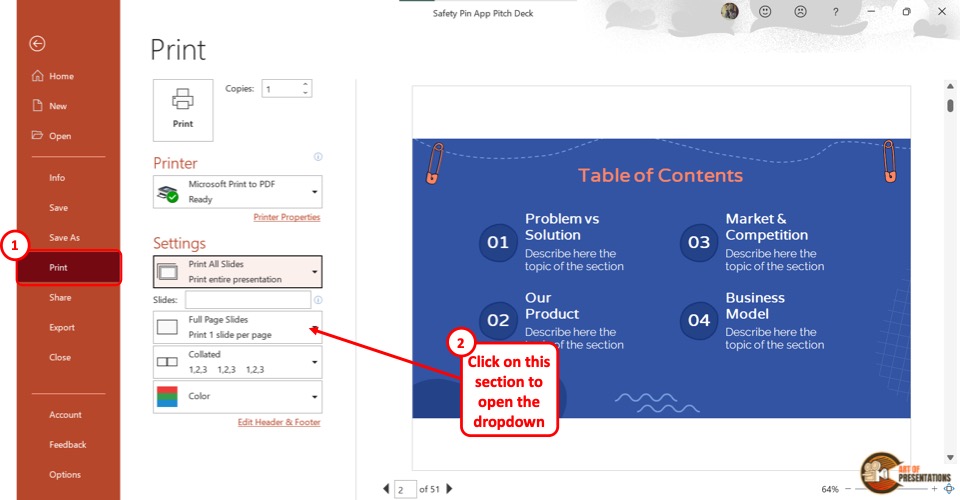
In the Microsoft Powerpoint presentation, click on the “File” tab from the menu bar. Then click on the “Print” option to access the print settings.
Step-2: Click on the “Notes Pages” option
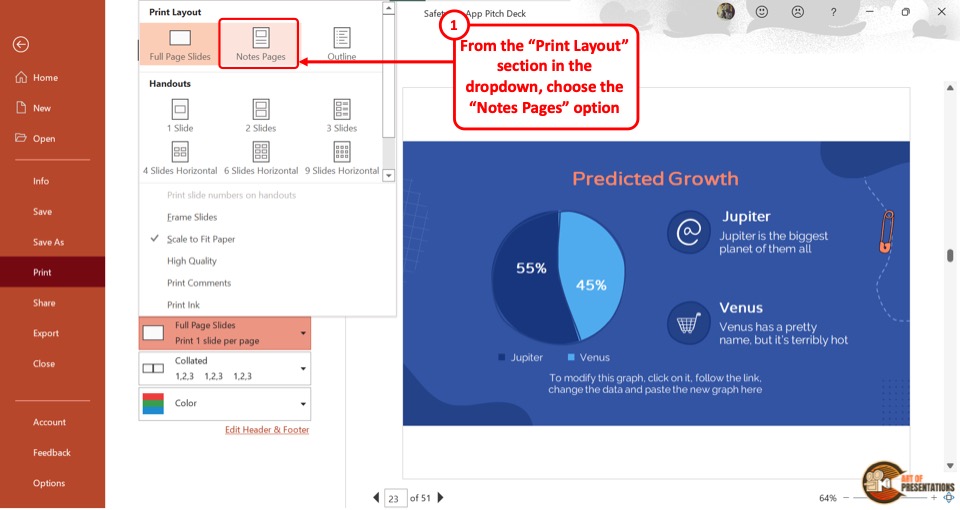
Under the settings option, click on the “Full Page Slides” box to open a dropdown menu. Under the “Print Layout” option, click on the “Notes Pages” button.
You can see the slide as well as the notes on the “Print Preview” screen.
Step-3: Click on the “Print” button
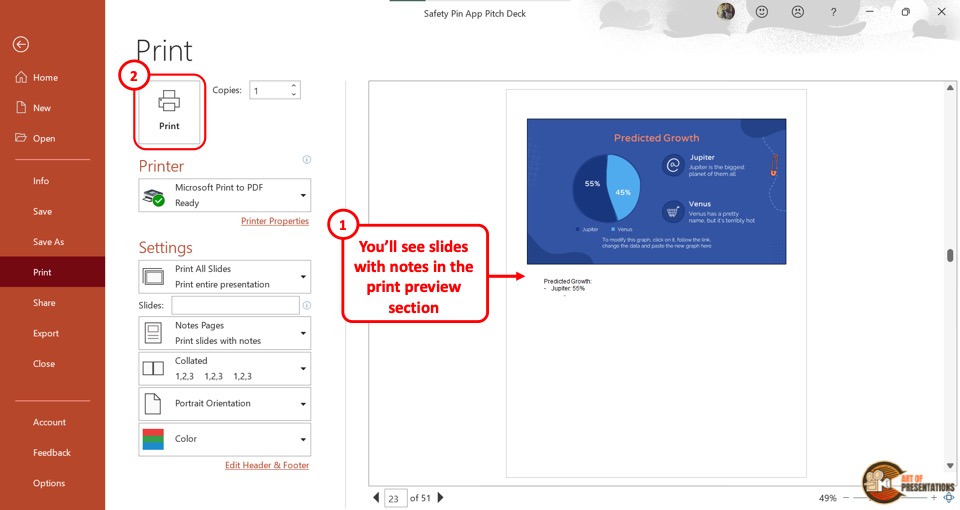
The final step is to click on the “Print” button at the top of the screen to print the slide along with the notes.
4b. On Mac
To print PowerPoint slides with notes on Mac, follow the 4 simple steps.
Step-1: Click on “File”
On a Mac device, you have to first open the PowerPoint presentation. Then click on the “File” tab located at the top left corner of the screen. From the dropdown menu, click on the “Print” option.
This will open a dialog box.
Step-2: Click on the “Show Details” option
In the dialog box, click on the “Show Details” option located at the bottom. You will now be able to see the settings for printing the PowerPoint presentation slides.
Step-3: Click on the “Notes” option
The next step is to click on the “Layout” option in the dialog box to open a dropdown menu. Click on the “Notes” option from the dropdown menu to include the notes with the slides.
Step-4: Click on “Print”
Now all you have to do is click on the “Print” button located at the bottom right corner of the dialog box to print the slides with notes.
5. Printing Multiple Slides Per Page with Notes
Microsoft PowerPoint provides a “Create Handouts” option which you can use to fit notes with multiple slides on a single page.
Here’s a step-by-step process to print multiple slides per page with notes –
Step-1: Click on the “File” menu
The first step is to click on the “File” menu in the menu bar located at the top of the screen. In the “File” menu, click on the “Export” option in the sidebar located on the left side of the screen.
Step-2: Click on the “Create Handouts” option
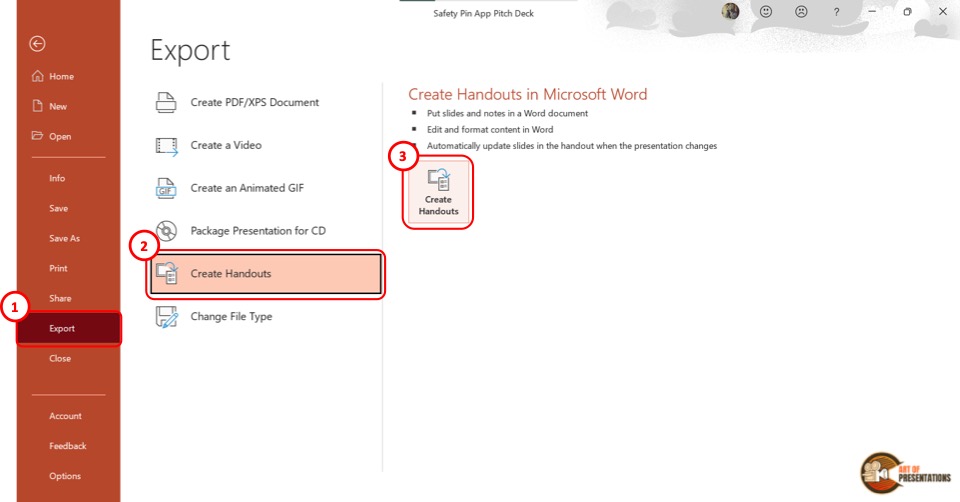
In the “Export” screen, click on the “Create Handouts” option at the secondary sidebar on the left side. Then you have to click on the “Create Handouts” button located in the middle of the screen.
This will prompt a dialog box.
Step-3: Select the “Notes next to slides” option
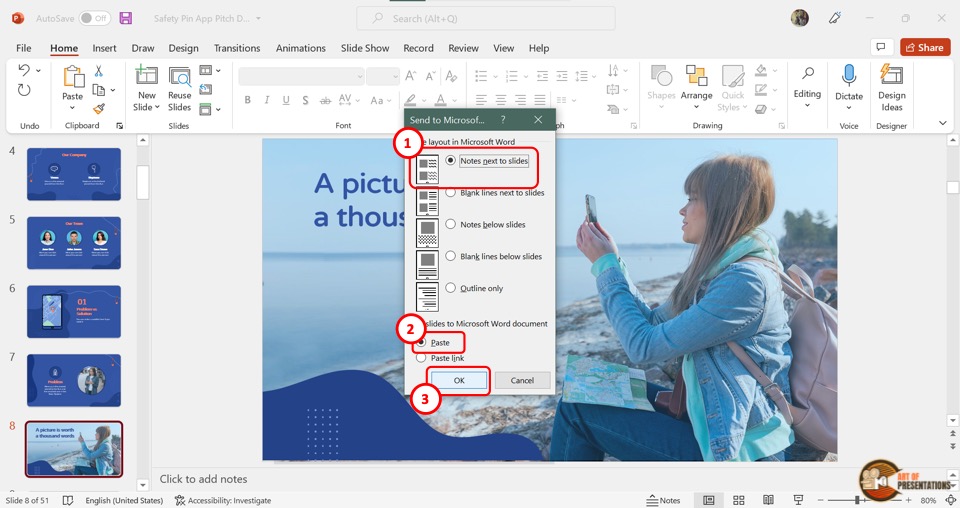
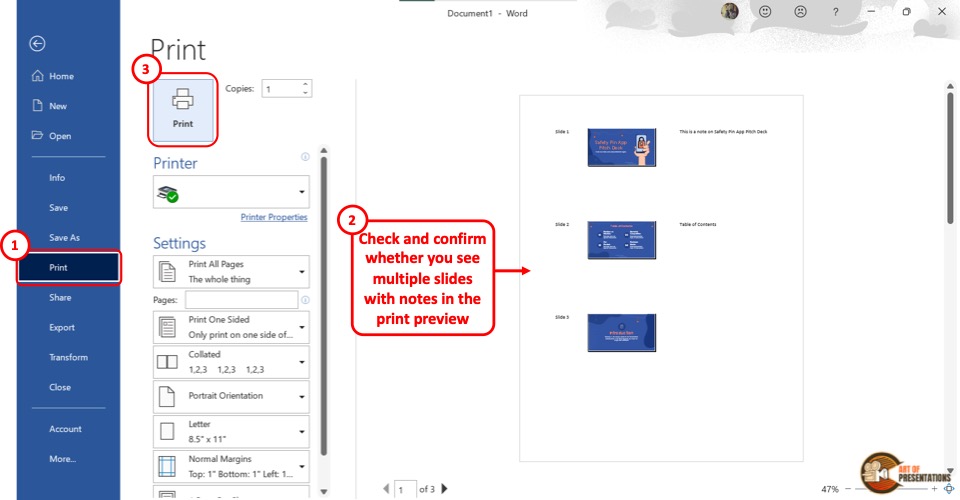
In the “Send to Microsoft Word” dialog box, you have to select two options. First, click on the “Notes next to slides” option under the “Page layout in Microsoft Word” settings.
Then click on the “Paste” option under the “Add slides to Microsoft Word document” settings.
Step-4: Click on the “OK” button
Now all you have to do is click on the “OK” button at the bottom of the dialog box (as shown in the image in step 3).
This will open a new Microsoft Word Document containing multiple slides per page along with notes.
Step-5: Click on “File”
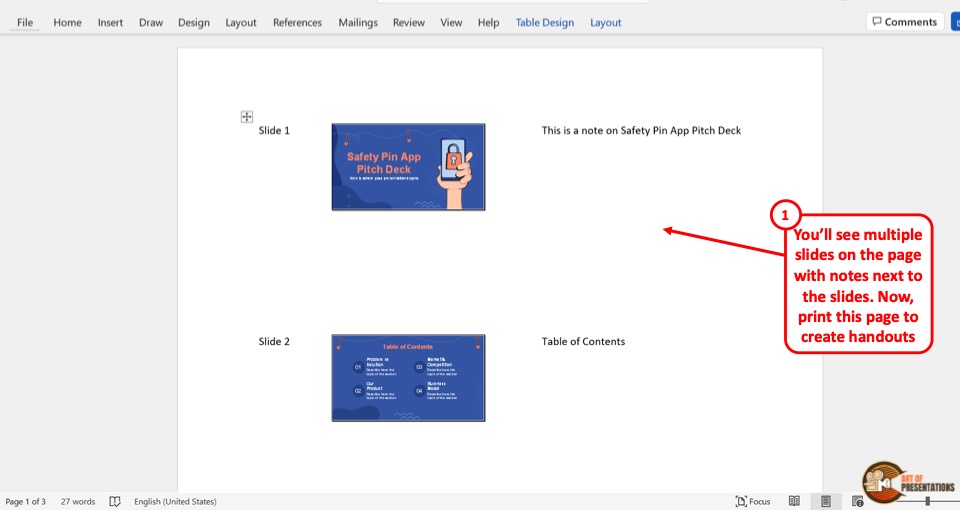
In the Microsoft Word document, you can preview the slides as well as the motes. You can also edit the notes and the slide arrangement.
Then click on the “File” tab in the menu bar at the top of the screen and click on the “Print” option.
Step-6: Click on the “Print” button
In the “Print” screen, you can change the settings options according to your preference. Now all you have to do is click on the “Print” button to print the multiple slides per page with notes.
6. Can You Print Just Slide Notes in PowerPoint?
In Microsoft PowerPoint, there is currently no feature that allows you to print just slide notes without the slides. However, you can remove the slide thumbnails manually before printing the notes pages.
Here’s how to do it –
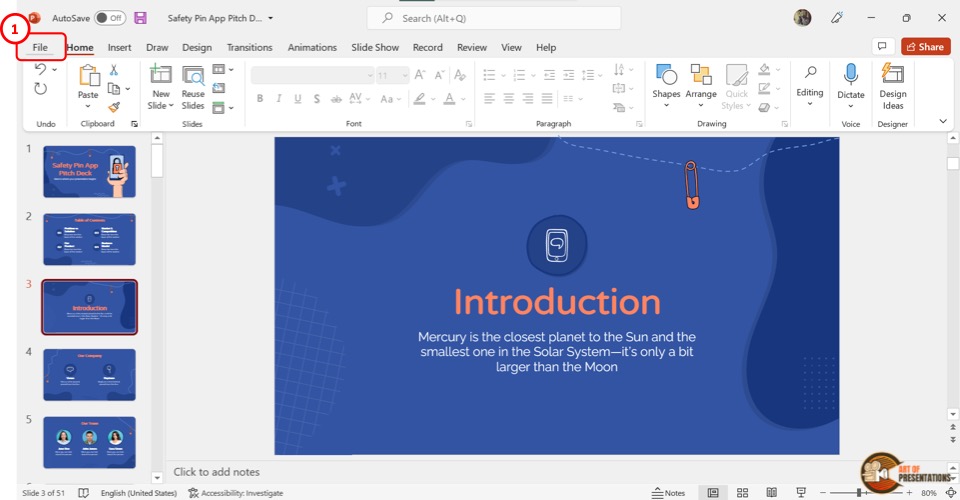
Step-1: Click on the “File” tab
In the menu ribbon at the top of the screen, click on the “File” tab. Then click on the “Export” option in the sidebar located at the left side of the screen.
Step-2: Click on the “Create Handouts” option
The next step is to click on the “Create Handouts” option from the sidebar in the “Export” screen. Then click on the “Create Handouts” button under the “Create Handouts in Microsoft Word” option.
Step-3: Click on the “Notes below slides” option
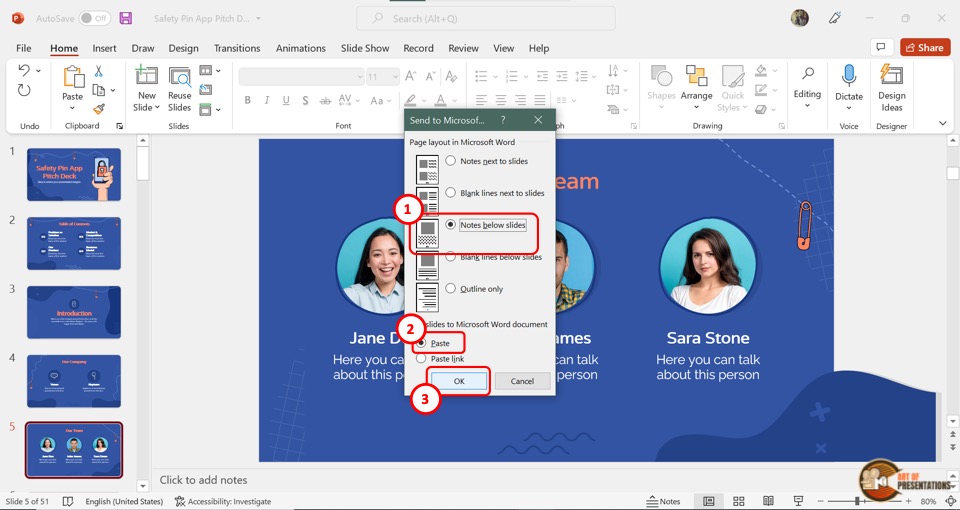
In the “Send to Microsoft Word” dialog box, click on the “Notes below slides” option under “Page Layout in Microsoft Word”.
Then select the “Paste” option under “Add slides to Microsoft Word document”.
Step-4: Click on the “OK” button
Now all you have to do is click on the “OK” button at the bottom of the dialog box (as shown in the image in step 3).
This will open a new Microsoft Word document containing all the slides and the notes below each slide.
Step-5: Delete the slide thumbnails

In the Microsoft Word document, you have to delete each slide thumbnail manually. To do so, click on each image and press the “Delete” key on your keyboard.
Alternatively, you can press the “backspace” key on your keyboard. Repeat the process until you have deleted all the slide thumbnails.
Step-6: Click on the “Print” option
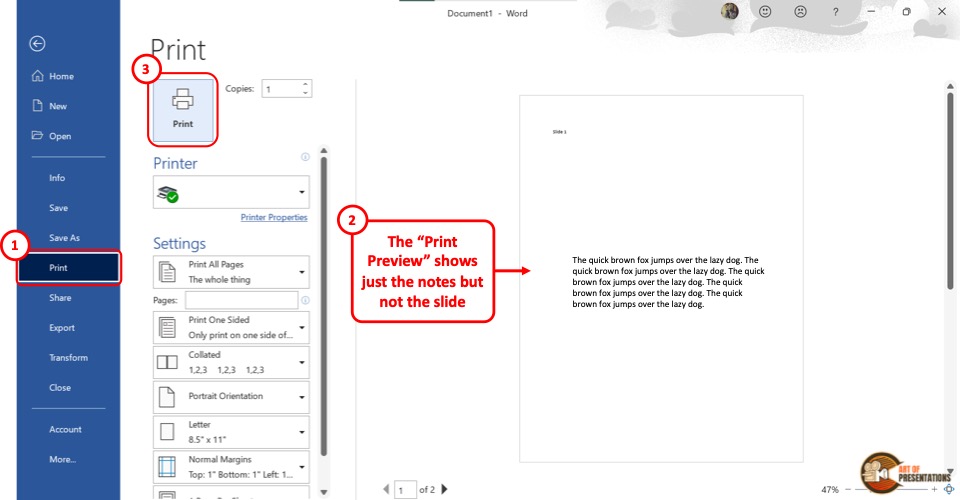
The final step is to click on the “File” tab and select the “Print” option from the sidebar on the left side of the screen in the “File” menu.
Now all you have to do is click on the “Print” button at the top of the screen to print just the notes without the presentation slides.
7. How to Print PowerPoint as an Outline?
Microsoft PowerPoint allows you to print only the slide outline of a presentation without printing the slide itself. To print the PowerPoint presentation as an outline, follow the 3 simple steps.
Step-1: Click on the “File” menu
The first step is to click on the “File” tab in the menu ribbon located at the top of the screen. In the “File” menu click on the “Print” option to open the “Print Preview” screen.
Step-2: Click on the “Outline” option

The next step is to click on the “Full Page Slides” box under the settings. From the popup menu, click on the “Outline” option under the “Print Layout” section.
Step-3: Click on the “Print” button
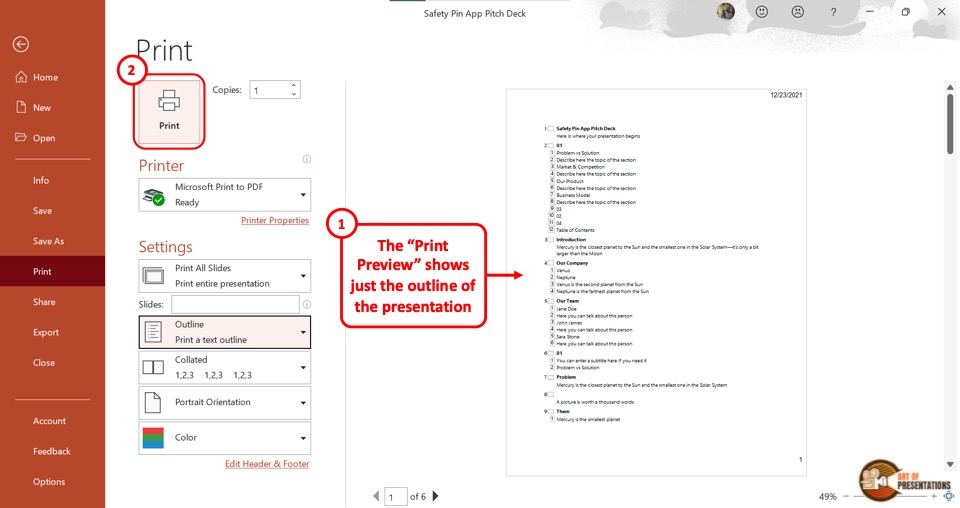
In the “Print Preview” screen, you can see the slide outline. Now all you have to do is click on the “Print” button at the top of the screen to print the presentation as an outline.
8. How to Print PowerPoint as a Handout?
Printing a PowerPoint presentation as a handout helps you compile multiple slides on a single sheet of paper. This is helpful when you have to distribute paper copies of your presentation among the audience.
To print a presentation as a handout, follow the steps mentioned below –
Step-1: Click on the “File” tab
The first step is to click on the “File” tab in the menu ribbon located at the top of the screen. In the “File” menu, click on the “Print” option.
Step-2: Click on the “Print Layout” option
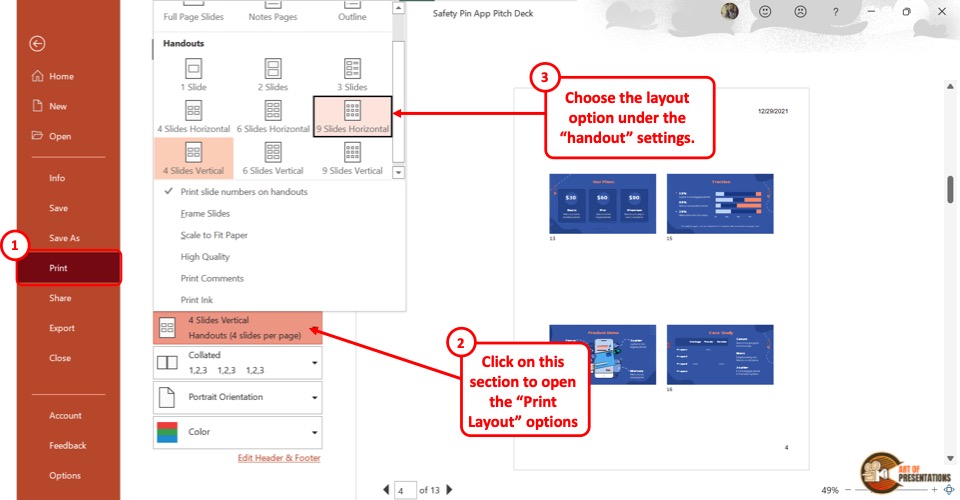
The next step is to click on the “Print Layout” option. It is the second box in the “Settings” section of the “Print” menu.
In the “Print Layout” pop-up menu, you will see 9 different layouts under the “Handouts” section. Click on your preferred handout layout.
Step-3: Click on “Print”
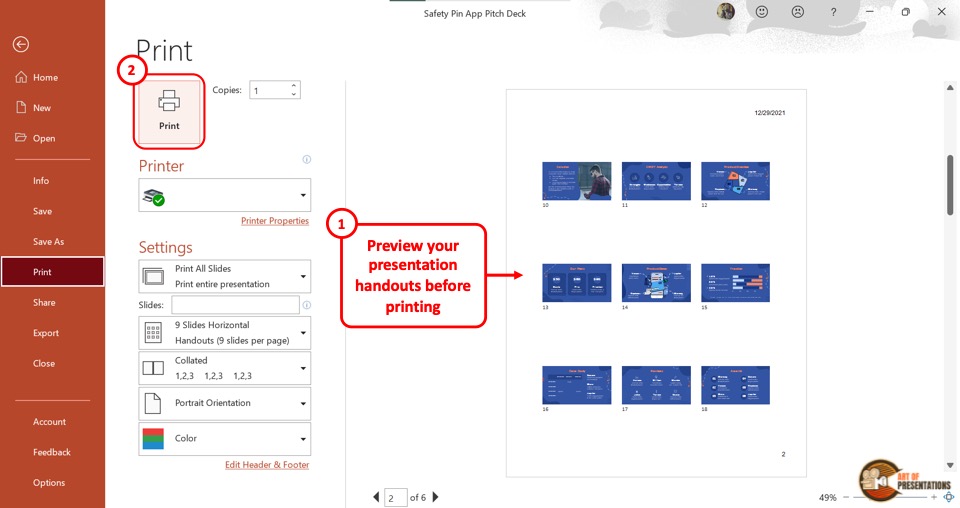
The final step is to click on the “Print” button at the top of the screen. Make sure that you are connected to a printer to print the PowerPoint as a handout.
8a. Adding Slide Numbers on Handouts
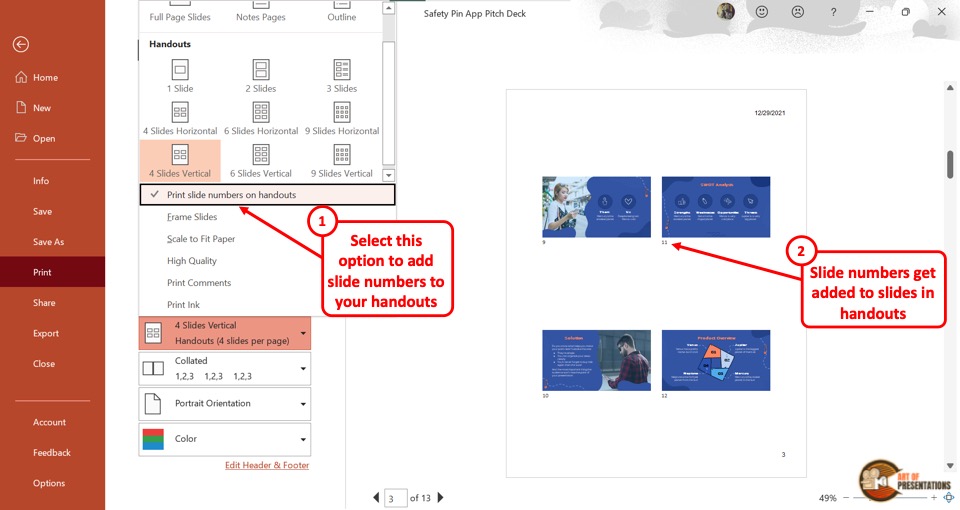
After selecting a handout layout, you can add the slide numbers on the handouts. All you have to do is click on the “Print slide numbers on the handouts” option under the layouts in the “Print Layout” pop-up menu.
A checkmark will appear on the left side of the option. You can also see the slide number showing under each slide on the preview screen.
8b. How to Frame Handout Slides
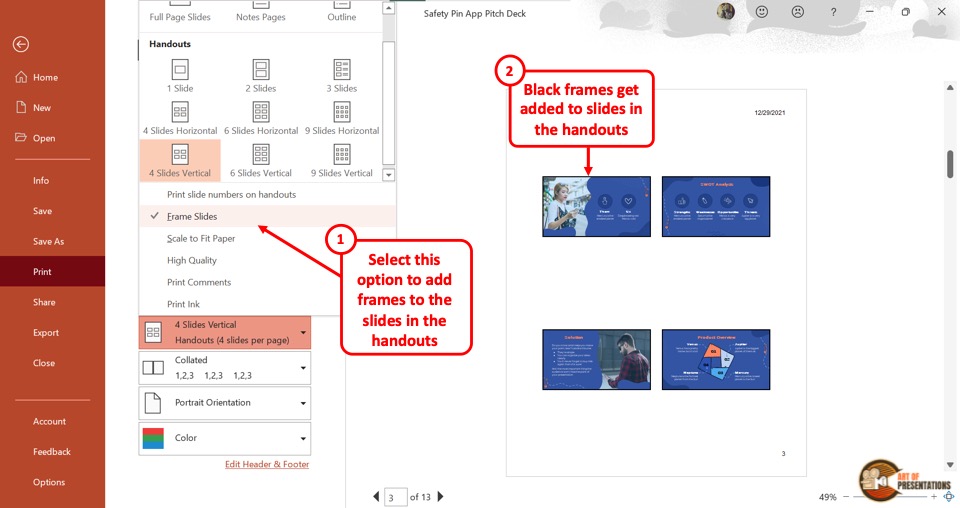
To frame handout slides, you have to first select a handout layout from the “Print Layout” option. Then click on the “Frame Slides” option under the layouts.
You will notice a checkmark showing on the left side of the “Frame Slides” option. Black frames will appear around each slide on the preview screen.
9. How to Print PowerPoint Full Page?
Microsoft PowerPoint offers various layouts for printing the presentation slides. You can print the presentation using the “Full Page Slides” option, where each paper will be printed with single slides on them.
Here’s what you need to do to print full-page slides –
Step-1: Click on the “File”
First, you have to open the “Print” screen. To do so, click on the “File” tab in the menu ribbon. Then click on the “Print” option from the sidebar in the “File” menu.
Step-2: Click on the “Full Page Slides” option
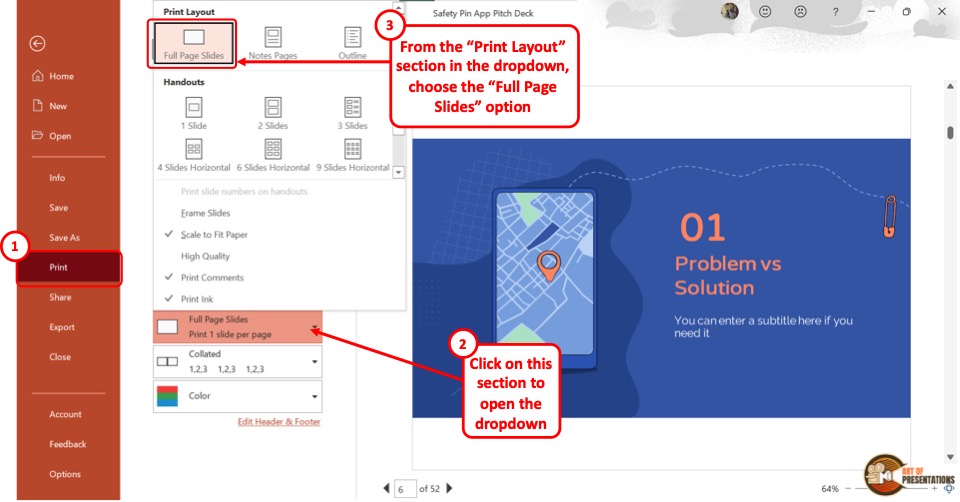
In the “Print” screen, click on the “Print Layout” option which is the second option under the “Settings” section. In the pop-up menu, click on the “Full Page Slides” option.
You can see the full page on the preview screen on the right side.
Step-3: Click on the “Print” button
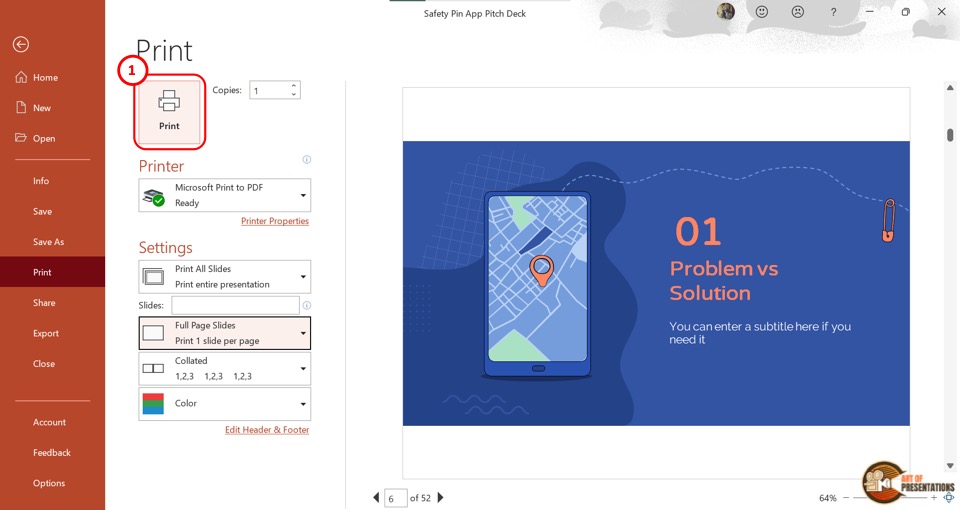
Finally, you have to ensure that the device is connected to a printer. Then click on the “Print” button at the top of the screen to print the full page slides.
Shortcut Method
In the “Print” option of Microsoft PowerPoint, the default setting for printing the slides is to print the full page. So all you have to do is press the “Ctrl+P” keys on your keyboard to open the “Print” screen.
Then click on the “Print” button at the top of the screen.
10. How to Print PowerPoint with Comments?
In Microsoft PowerPoint, the editor as well as other reviewers can leave comments on the objects in a slide. To print a PowerPoint presentation with the comments alongside the slides, follow the 3 simple steps.
Step-1: Open the “Backstage View” using the “File” Tab
In the open PowerPoint presentation, click on the “File” tab from the menu ribbon. Then you have to click on the “Print” option in the “File” menu.
Step-2: Click on the “Print Comments” option
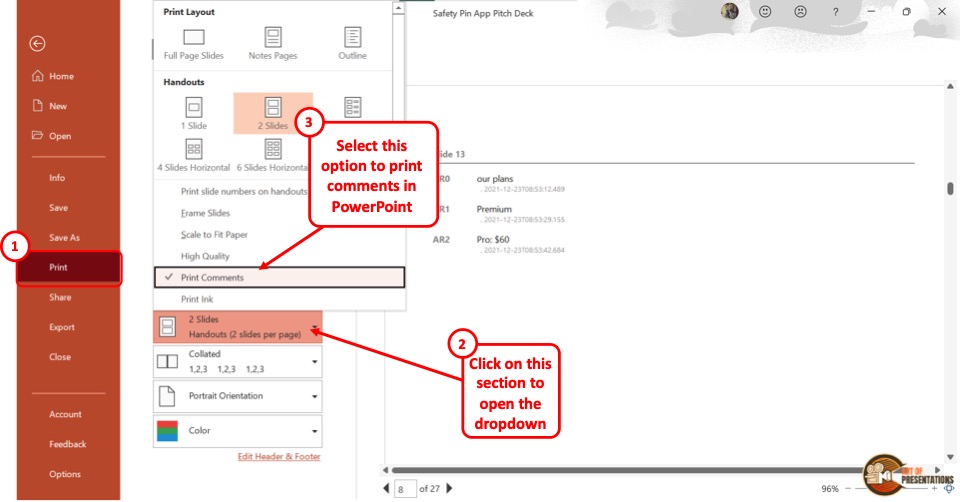
In the “Print” menu, click on the “Print Layout” option which is the second option in the “Settings” section. This will open a pop-up menu. Click on the “Print Comments” option from the pop-up menu.
Step-3: Click on “Print”
On the preview screen, the comments in a slide will show on a separate page after that slide. Now all you have to do is click on the “Print” button to print the presentation slides with comments.
11. How to Print PowerPoint Slides as a Booklet?
Sometimes, printing a presentation as a booklet may be more convenient. Unfortunately, Microsoft PowerPoint currently does not have any feature that allows you to print the PowerPoint slides as a booklet.
However, you can commonly find this feature in your printer device. All you have to do is click on the “Printer Properties” option in the “Printer” section of the “Print” screen and look for any booklet feature.
If the printer does not have any feature to print booklets, you can save the PowerPoint document as a PDF file. Follow the steps in section 14 to print the PowerPoint as PDF. Then use the “Print as Booklet” option in the PDF viewer.
12. How to Print PowerPoint Presentation in Portrait?
In Microsoft PowerPoint, you can change the orientation of the slides to print them in “Landscape” or “Portrait”.
To print a PowerPoint presentation in portrait orientation, here’s what you need to do –
Step-1: Click on the “File” tab
In the menu bar at the top of the screen, click on the “File” tab located in the left corner. In the “File” menu, click on the “Print” option. Alternatively, you can press the “Ctrl+P” keys on your keyboard.
Step-2: Click on the “Portrait Orientation” option
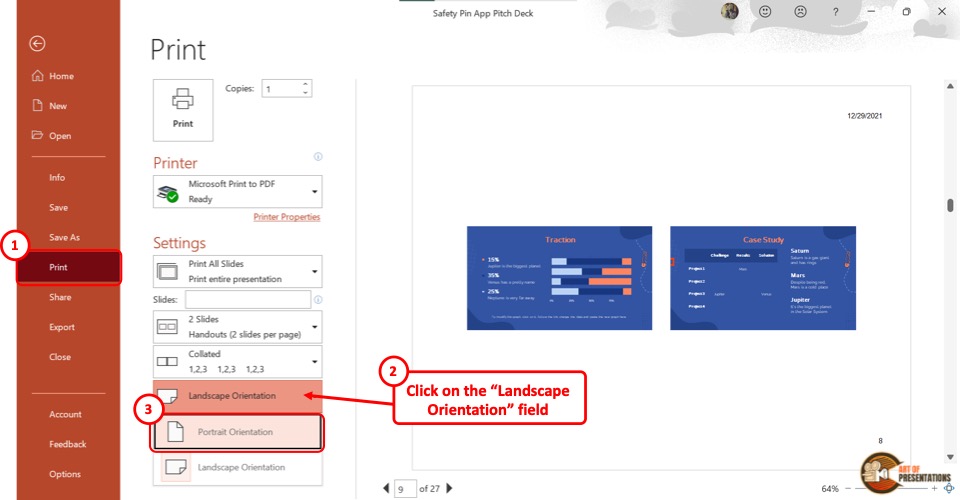
In the “Print” menu, click on the “Orientation” box. It is the fourth option in the “Settings” section. Then click on the “Portrait Orientation” option from the dropdown menu.
In PowerPoint, the “Portrait Orientation” is the default orientation.
Step-3: Click on the “Print” button
You can now see the slides in portrait orientation on the preview screen on the right side. All you have to do is click on the “Print” button. This will print the slides in portrait orientation.
13. How to Print PowerPoint Presentation with Ink Annotations?
Ink Annotations are drawings or handwritten notes on slides. You can show or hide the ink annotations in a PowerPoint presentation using the “Draw” tab.
You can also print your presentation along with ink annotations. Here’s how to do that –
Step-1: Click on “File”
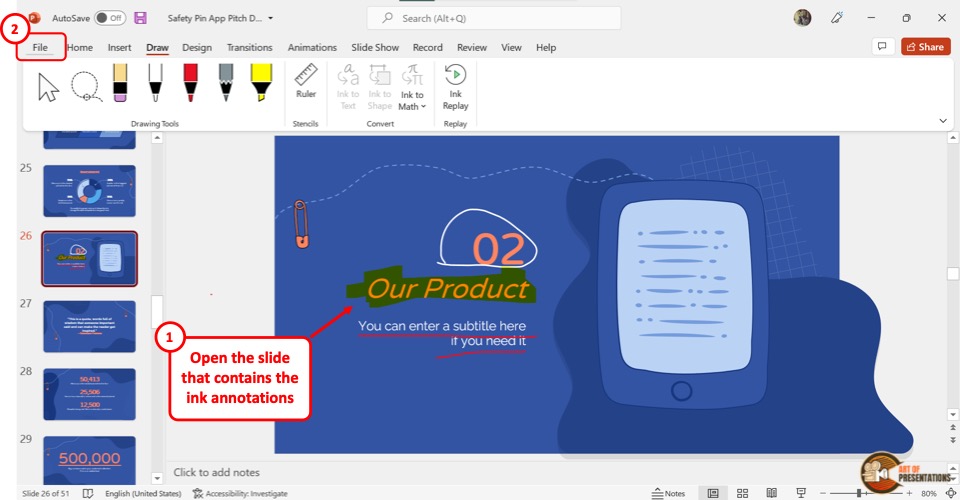
The first step is to open the “Print” screen. To do so, press the “Ctrl+P” keys on the keyboard. You can also click on the “File” tab from the menu ribbon and then click on the “Print” option from the sidebar of the “File” menu.
Step-2: Click on the “Print Ink” option

The next step is to click on the “Print Layout” option. In the “Settings” section, the “Print Layout” option in the box that shows “Full Page Slides”.
In the “Print Layout” pop-up menu, click on the “Print Ink” option at the bottom. A checkmark will appear on the left side of the “Print Ink” option and the ink annotations will show on the preview screen.
Step-3: Click on “Print”
Finally, you have to ensure the device is connected to a printer. Then click on the “Print” button to print the slides with ink annotations.
14. How to Print PowerPoint as a PDF?
In Microsoft PowerPoint, you can use the “Microsoft Print to PDF” option to save your presentation as a printable PDF document. To do so, follow the 4 easy steps mentioned below –
Step-1: Click on the “File” tab
You have to first click on the “File” tab located at the left corner of the menu ribbon. This will open the “File” menu. Click on the “Print” option in the sidebar on the left side of the “File” menu.
Alternatively, you can press the “Ctrl+P” keys on your keyboard.
Step-2: Click on the “Microsoft Print to PDF” option
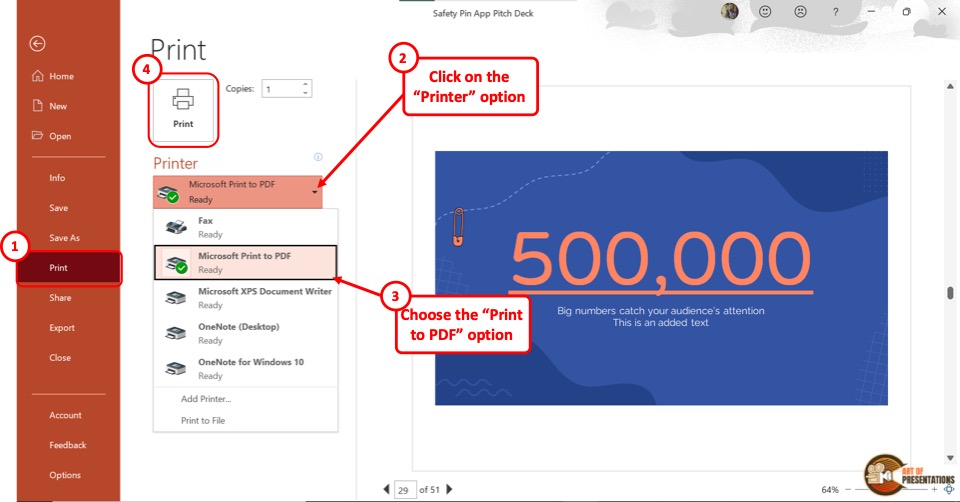
Now you have to click on the box under the “Printer” option. This will open a dropdown menu. Click on the “Microsoft Print to PDF” option from the dropdown menu.
Step-3: Click on the “Print” button
Now all you have to do is click on the “Print” button at the top of the “Print” screen (as shown in the image in step 2). This will prompt a dialog box.
Step-4: Click on the “Save” option
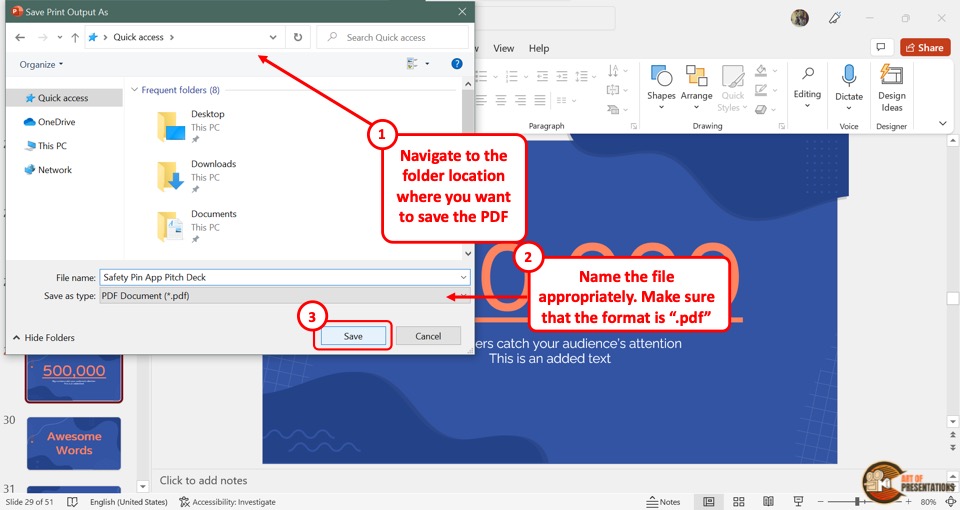
In the “Save Print Output As” dialog box, select the preferred file location for the PDF. Then click on the “Save” option at the bottom of the dialog box to save the PowerPoint presentation as a PDF file.