One of the most common mistakes that people make in PowerPoint is unknowingly distorting or stretching the images. We are often asked, “How do you proportionally resize an image in PowerPoint?” The secret lies in locking the aspect ratio of an image.
So how do you lock the aspect ratio of a photo in PowerPoint? Simply select the picture and right click on it. Then select the “Format Picture” option. On the dialogue box that opens, click on “Size & Properties”, and tick the “Lock Aspect Ratio” option.
We’ll get to the bottom of this in just a moment. But first, you may need to know what an aspect ratio is.
What is an Aspect Ratio?
Aspect ratio is a ratio that refers to the width of a picture in relation to its height. For example, a 4:3 aspect ratio simply means that the image is 4 units wide by 3 units high. A 16:9 aspect ratio would thus mean that the picture is 16 units wide by 9 units high.
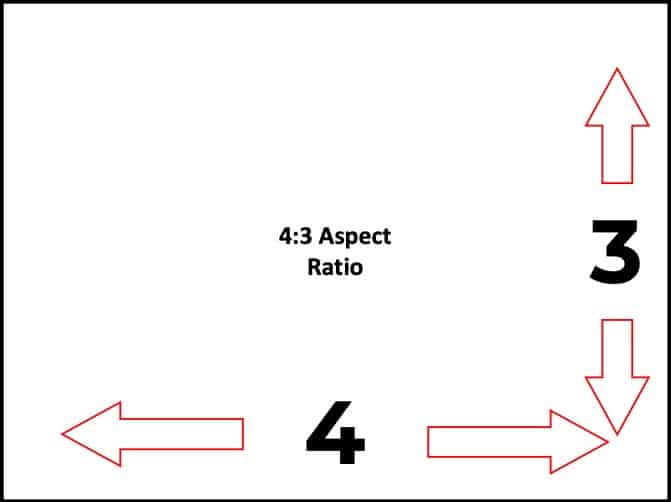
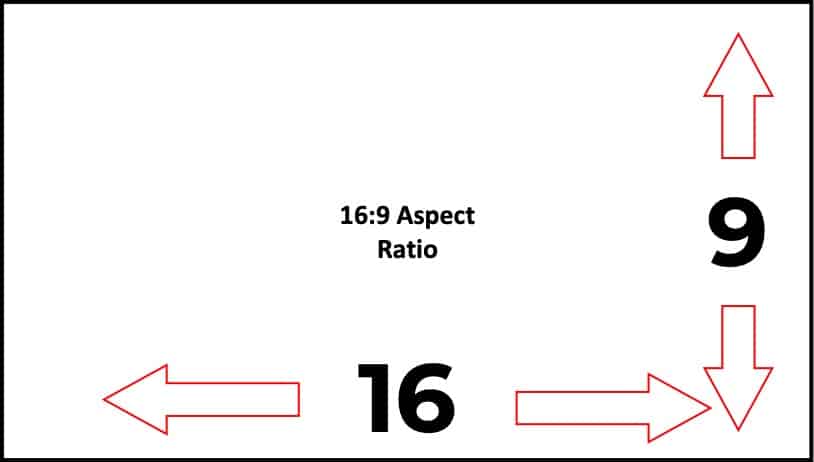
There are multiple different aspect ratios that exist. However, when it comes to PowerPoint slides, these can only be created either in a 4:3 aspect ratio (known as the standard size slide) or a 16:9 aspect ratio (known as the widescreen slide size).
What does Lock Aspect Ratio Mean?
Before we understand how exactly can you lock the aspect ratio of an image, let us first make sure we know what exactly is the meaning of locking the aspect ratio.
Locking the aspect ratio of an image in PowerPoint basically means that the image will always increase or decrease in its height or width proportionately.
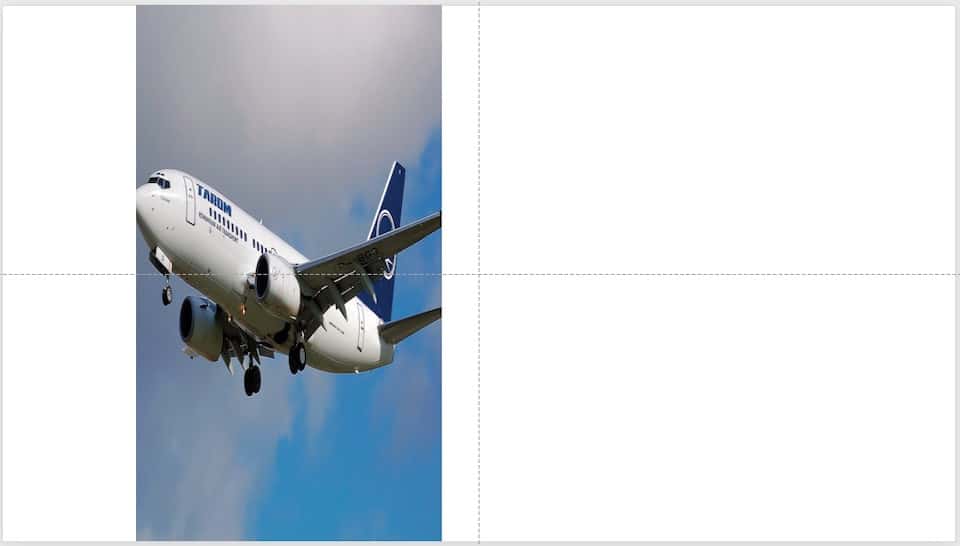
Let’s take an example to understand this better. Let’s consider the following image –
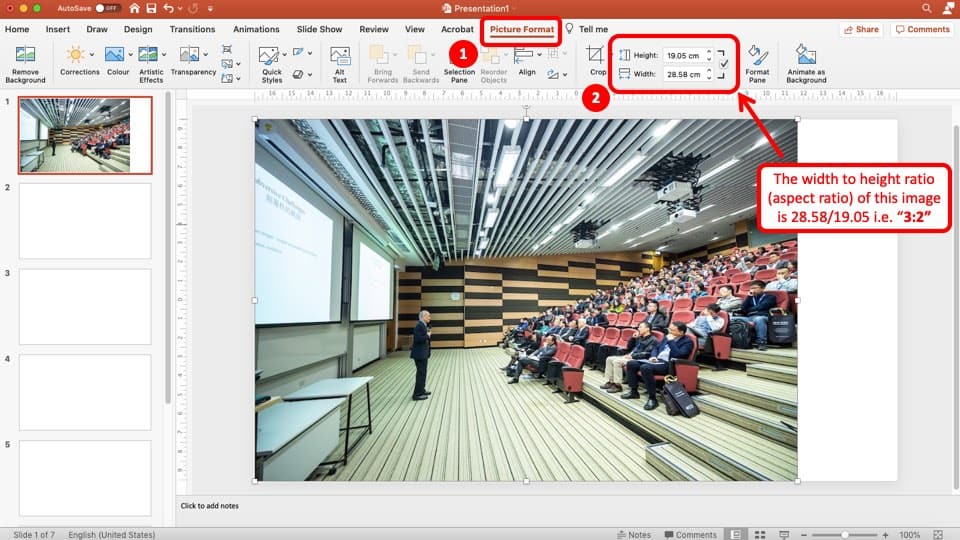
You can check the dimensions of an image in PowerPoint, by first clicking on the image. Then, click on “Picture Format“. Finally, you can see the dimensions right next to the crop option.
The dimensions of the above image are 28.58 units wide and 19.05 units high. Thus, the aspect ratio of the image can be calculated by dividing the width by its height.
In other words, the aspect ratio of the image would be considered as 28.58/19.05. When you actually divide the two numbers (using a calculator), the result will be equal to 1.5 or 3:2.
Now, when the aspect ratio of this image is locked, then no matter how much you increase or decrease the size of either its width or the height, the ratio of width to the height of this image will always remain 3:2.
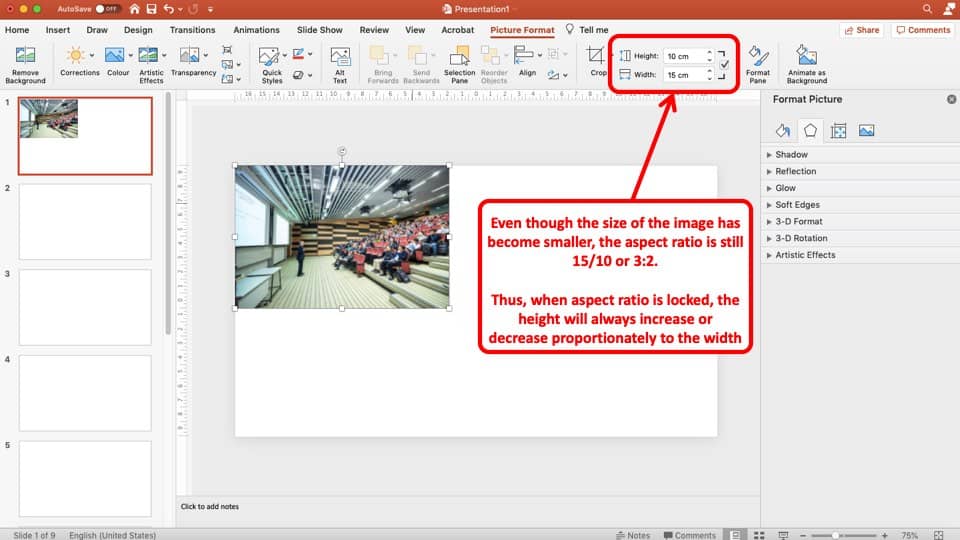
Going back to the image that we considered in the previous example, notice how I decrease the height and the width of the image in the picture above.
Even though the size of the image has now decreased to 15 units wide and 10 units in height, the aspect ratio of this image is still 3:2.
In other words, when you lock the aspect ratio of an image in PowerPoint before resizing it, the height of the image will always increase or decrease proportionately to its width.
I hope the above example helps you understand a bit more about what exactly does locking an aspect ratio of an image in PowerPoint means.
How to lock the aspect ratio of an image in PPT? (Detailed Steps)
Images may not necessarily come in a 4:3 or 16:9 aspect ratio. The images may follow other ratio formats. The good part is that you don’t necessarily need to know the original aspect ratio of the image. But it is important that we ensure the aspect ratio of the images is maintained. This is especially important when resizing the images.
So how do we maintain or lock the aspect ratio of the images? There are really 2 main ways in which you can lock the aspect ratio of the images. Let’s look at it in detail below.
Method 1 – Using the “Format Picture” option by right-clicking on the image
You can easily lock the aspect ratio from the “Format Picture” option.
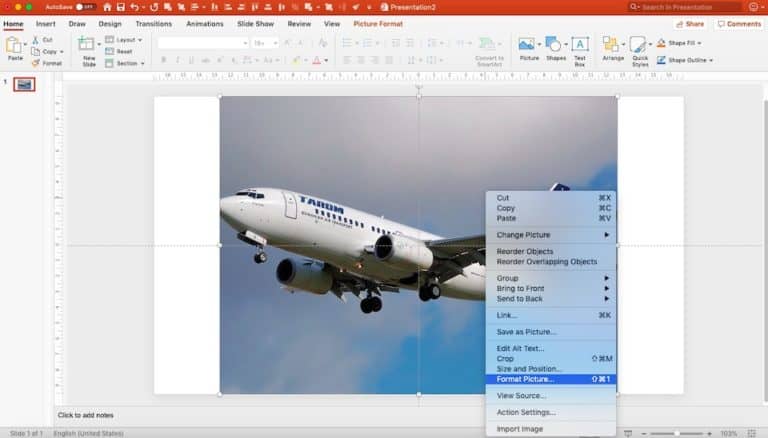
To go to the “Format Picture” option, simply select the image on your screen and right-click on the image. You will see a list of options that pop-up. Click on the “Format Picture” option from the pop-up.

Next, you will see a bar on the right. Go to the third option that is “Size & Properties” under the “Format Picture” tab, and look for the “Lock aspect ratio” option in the section.

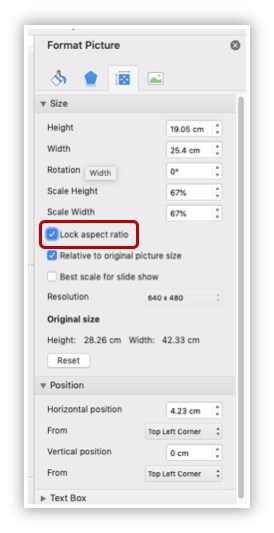
Make sure that there is a checkmark in the “Lock aspect ratio” check box. This will make sure that going forward, the aspect ratio of the image will be locked.
Method 2 – Using the “Picture Format” option from the menu bar
Another way to locate the “Lock aspect ratio” option is through the menu bar or the ribbon on the top.
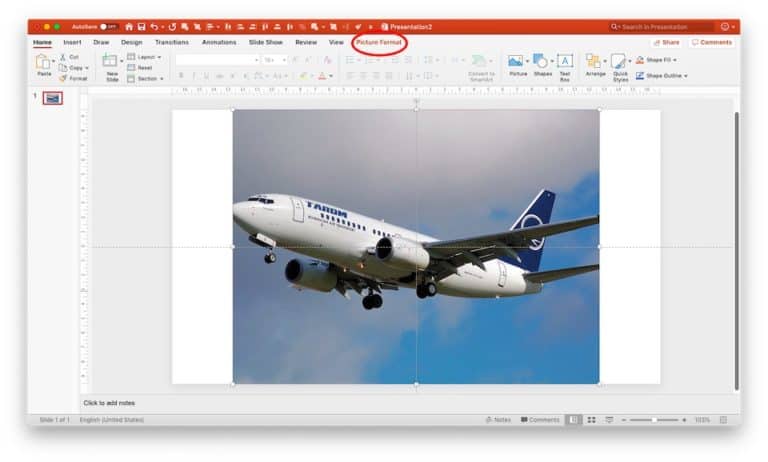
First, click on the picture to select it. You will notice an additional option of “Picture Format” appear upon selecting the image. Click on it.
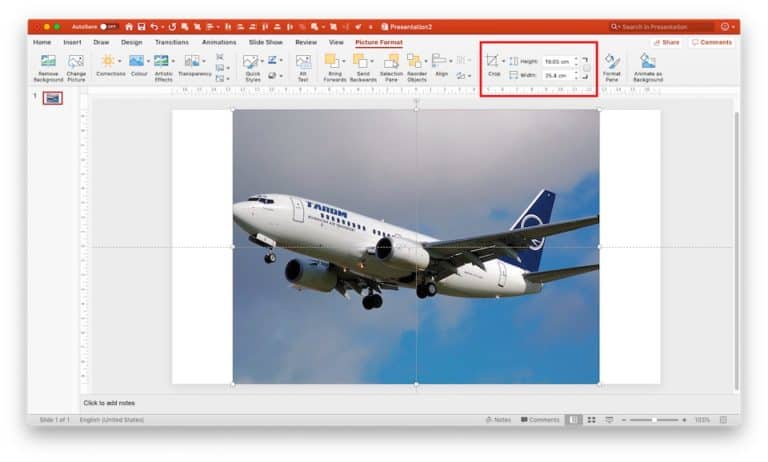
On the “Picture Format” ribbon, you will see several options related to the formatting of the image under consideration. Try and locate a section that indicates the height and width of the image.

Next, locate a small box right next to the “Height & Width” settings. When you hover over the box, you will get a pop-up description to “Lock aspect ratio”. Simply click on this box and make sure it is checked.
Once the “lock aspect ratio” box is checked, if you try and change the value of the height manually, the width will automatically adjust based on the aspect ratio of the image.
The steps described above can help you lock the aspect ratio of any image in PowerPoint. The process is similar when you wish to lock the aspect ratio of not just an image but also of any other shape such as a square, circle, or rectangle.
Why is it important to lock the aspect ratio?
It is important to lock the aspect ratio in order to avoid the images from stretching. Consider the following example –
Original Image

Stretched Image without locking the aspect ratio
In the above example, which image would you like to consider for your presentation? Most people would prefer to go with the one on the top, and that would also be the correct choice. Why? It is because the image on the bottom is stretched as the original aspect ratio was not maintained while resizing the image thereby distorting the object in the image. Such images can degrade the visual appeal of your presentation and design.
Thus, always remember to lock the aspect ratio of an image as per any one of the methods described above before resizing it on PowerPoint.
How to resize the image and keep the aspect ratio?
There are times when you want to change the size of the image from its default size. As we have thus far understood, it is important to maintain the aspect ratio of the picture when resizing it. So, how can this be done? Let’s look at 3 different methods below –
Method 1 – Resize the image using the “Shift” key
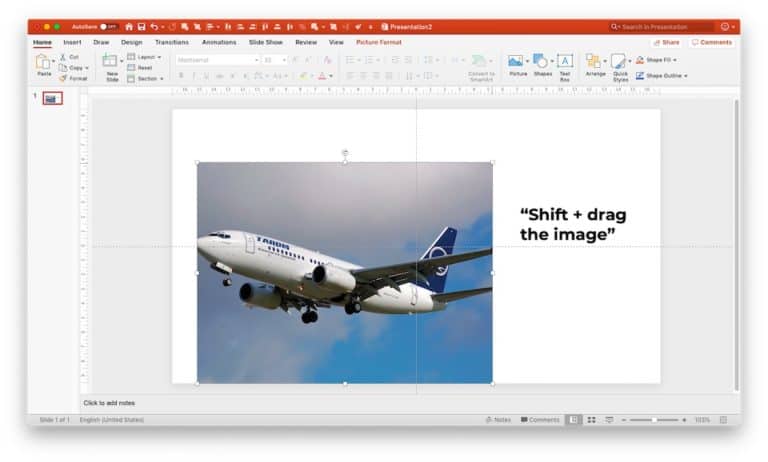
Using the “Shift” is a quick method by which you can make sure that the aspect ratio of the image remains locked when changing the size of the image. Simply press the shift key, and drag the image from one of the edges or the sides, and the image will be resized in the same aspect ratio.
Method 2 – Resize the image using the “Crop to Aspect Ratio” option
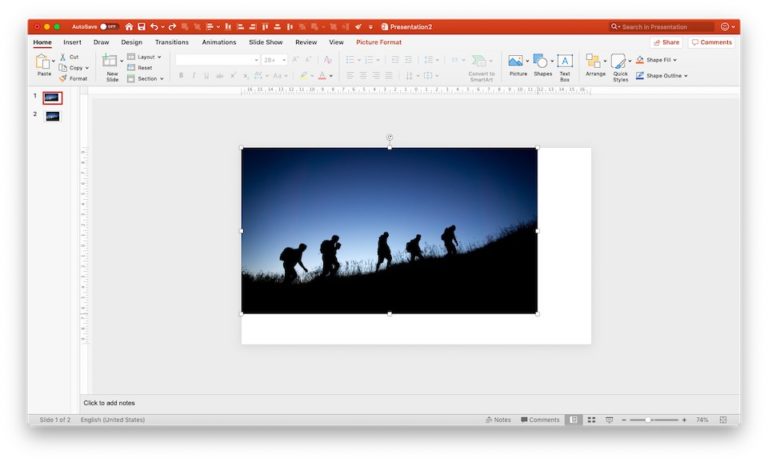
A classic example of resizing the image could be when you want to cover the entire slide background with an image that perhaps is smaller in size.
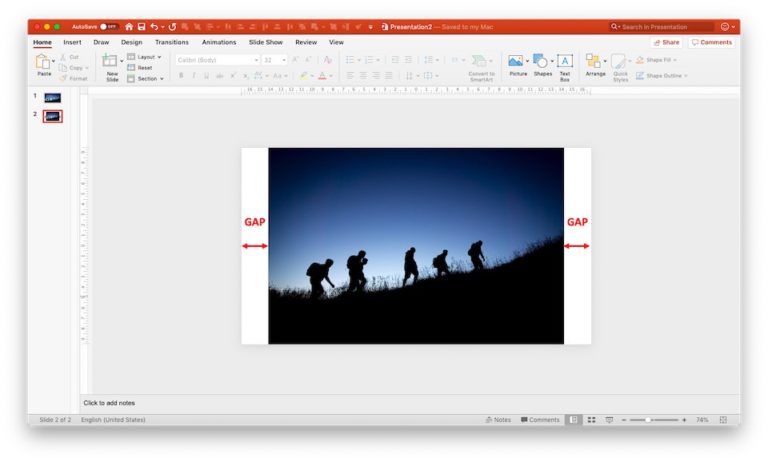
Consider this, you have just the right image to use as a full-screen backdrop to convey a brilliant message. But, the image is not exactly the same size as that of the PowerPoint slide as illustrated in the above image.
An incorrect way to make the image fit the screen size would be to adjust the size of the image by dragging it from left and right until it fits the slide. DON’T DO THIS!
So, what would be the correct way to change the size of this image? The easiest way to make this image fit the slide size would be cropping it to the size of the slide. In this particular case, we are using a 16:9 aspect ratio widescreen presentation.
Pro tip – if you are not sure about the aspect ratio of your presentation slides, simply click on “View” on the menu, then click “Slide Master”. Next, look for the “Slide Size” option in the ribbon and click on it. You will be shown a dropdown with two options i.e. standard (4:3) & widescreen (16:9). The option that is highlighted, will be your default aspect ratio of your slides. To go back to your main presentation, simply click on “Close Master” in the ribbon.
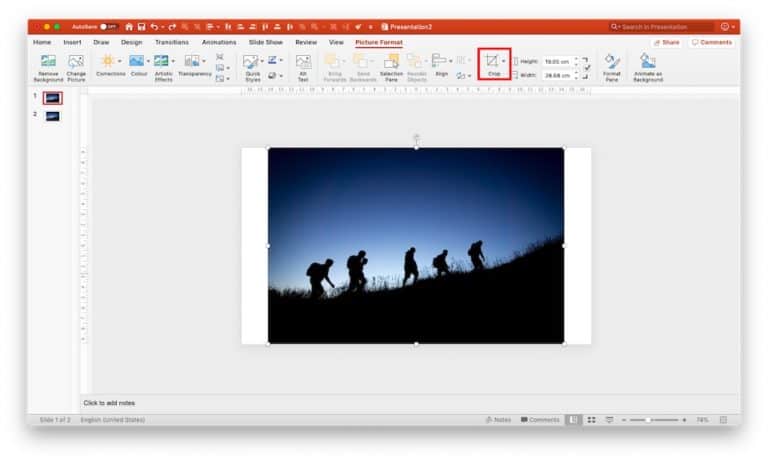
In order to crop the image to a 16:9 aspect ratio, simply select the image and click on the “Picture Format” on the menu bar. Next, locate the “Crop” button and click on the small arrow on the right of the crop button.
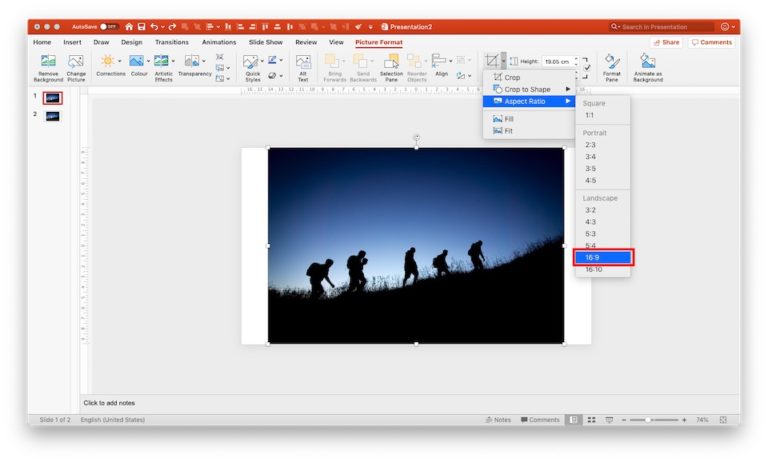
Upon clicking the small arrow on the “Crop” button, select “Aspect Ratio”, and then “16:9” from the secondary dropdown option. Notice how you are also presented with several other widely accepted standard aspect ratios. Using the same process, you can also crop the image in the “4:3” aspect ratio if your slide is in the standard 4:3 format.
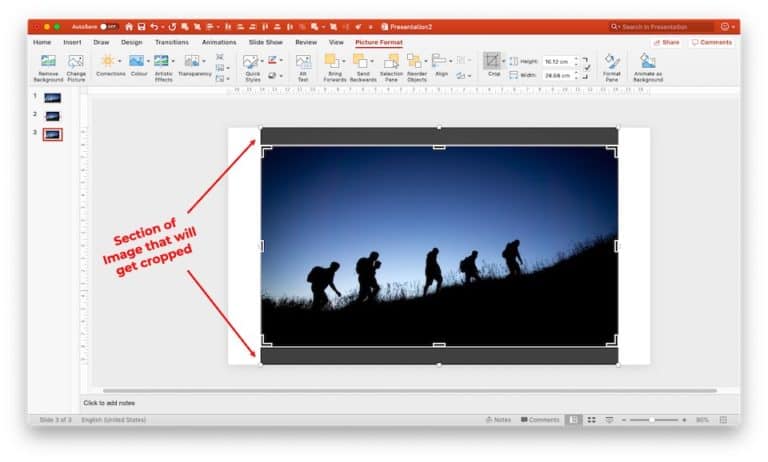
PowerPoint will first show the parts of the images that will get cropped. If you are okay with it, then you need to simply press the “Esc” button on your keyboard. You can also move the image around by simply clicking on the image and dragging it in any direction such that the specific section of the image you want to retail can be brought in the 16:9 frame.
Once you press “Esc”, PowerPoint will crop the rest of the image. You can always adjust the image again by following the aforementioned steps as many times as you want.
Now, to adjust the size of the image to match it to the size of the slide, you will first need to move the image to align it with any one corner of the slide. Next, you need to stretch the image proportionally to fit the slide size.
To do this, simply press the “Shift” key on your keyboard (as described in method 1), and drag the image from the opposite corner until it expands to fit the size of your slide.

Now that you have the image that fits the size of your slide perfectly, just add the text to convey your awesome message! A quick way to check if the image has actually aligned to the full-screen size is to put your presentation in the “Slide Show” mode and see if the image covers the complete slide. Check if any white areas of the slide background are still visible.
Method 3 – By increasing the height or width of the image after locking the aspect ratio
You can also proportionally increase the size of the image by increasing or decreasing either the height or the width of the image. However, you will need to make sure that you have locked the aspect ratio of the image. You can do this by any of the two methods that we described above.
Once you have locked the aspect ratio of the image, simply click on the “Picture Format” option in the menu bar. Then, once again make sure that the lock aspect ratio box has a tick.
Now, you can simply adjust the height or width of the image by manually entering a value. You will notice that by changing any one value, the other value also changes automatically and the impact of this is visible on your image on the slide.
The only drawback of this method is that you may need to tinker with the values multiple times until you achieve the desired result.
What to do if you have changed the aspect ratio by mistake?
It is possible that either you or someone who works with you may have changed the aspect ratio of the image unintentionally or by pure ignorance. Fortunately, there is a way that you can rectify this issue. You can “Reset” the image to the original dimensions.
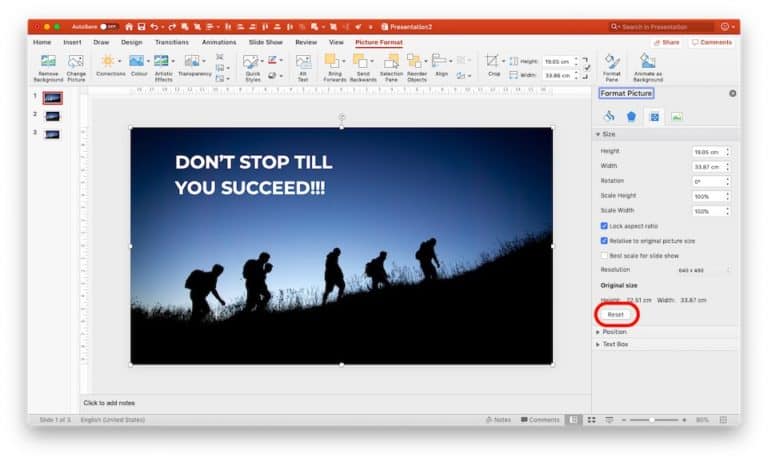
To reset the image to the original dimensions, simply select and right on the image, and click on “Format Picture”. Next, choose “Size & Properties”, and then click on “Reset” under the “Size & Properties” options. This will restore the size of the image to the original dimensions. A quick point to note here is that this process will only work as long as the images have not been compressed and the cropped area has not been deleted.
What is the most common aspect ratio of PowerPoint slides?
While images on a PowerPoint slide can take multiple aspect ratios, the size of the PPT presentation can really only take two formats –
- 4:3 aspect ratio – This is commonly known as the standard presentation format
- 16:9 aspect ratio – This is commonly known as the widescreen presentation format
Traditionally, the 4:3 aspect ratio was the most common. For decades, most screen sizes followed the 4:3 ratio including the TV and the computer monitor. Thus, this aspect ratio was more prevalent.

An example of an older 4:3 aspect video played on a modern 16:9 aspect monitor which leaves empty pixels on the side of the screen.
However, with the onset of more modern widescreen high-resolution TVs and video screens, the 16:9 aspect ratio has seen a significant rise in demand. Today, the most common aspect ratio of PowerPoint slides would be 16:9 widescreen format.
Conclusion
I hope this blog post was useful in helping you understand the various aspect of resizing the image without distorting it.
Our goal on this blog is to create content that helps YOU create fantastic presentations; especially if you have never been a designer. We’ve started our blog with non-designers in mind, and we have got some amazing content on our site to help you design better.
If you have any topics in mind that you would want us to write about, be sure to drop us a comment below. In case you need us to work with you and improve the design of your presentation, write to us on [email protected]. Our team will be happy to help you with your requirements.
Lastly, your contribution can make this world a better place with better presentations. All you have to do is simply share this blog in your network and help other fellow non-designers with their designs!